How It Works
Chapter 01
Getting Started
On the web
Create an account
Sign up for Trove. The VST uses your account to sync and share your projects.
On the web
Download the VST
Download the installer and run it. In Ableton, rescan the plugin folder.
In the VST
Connect the VST to your account
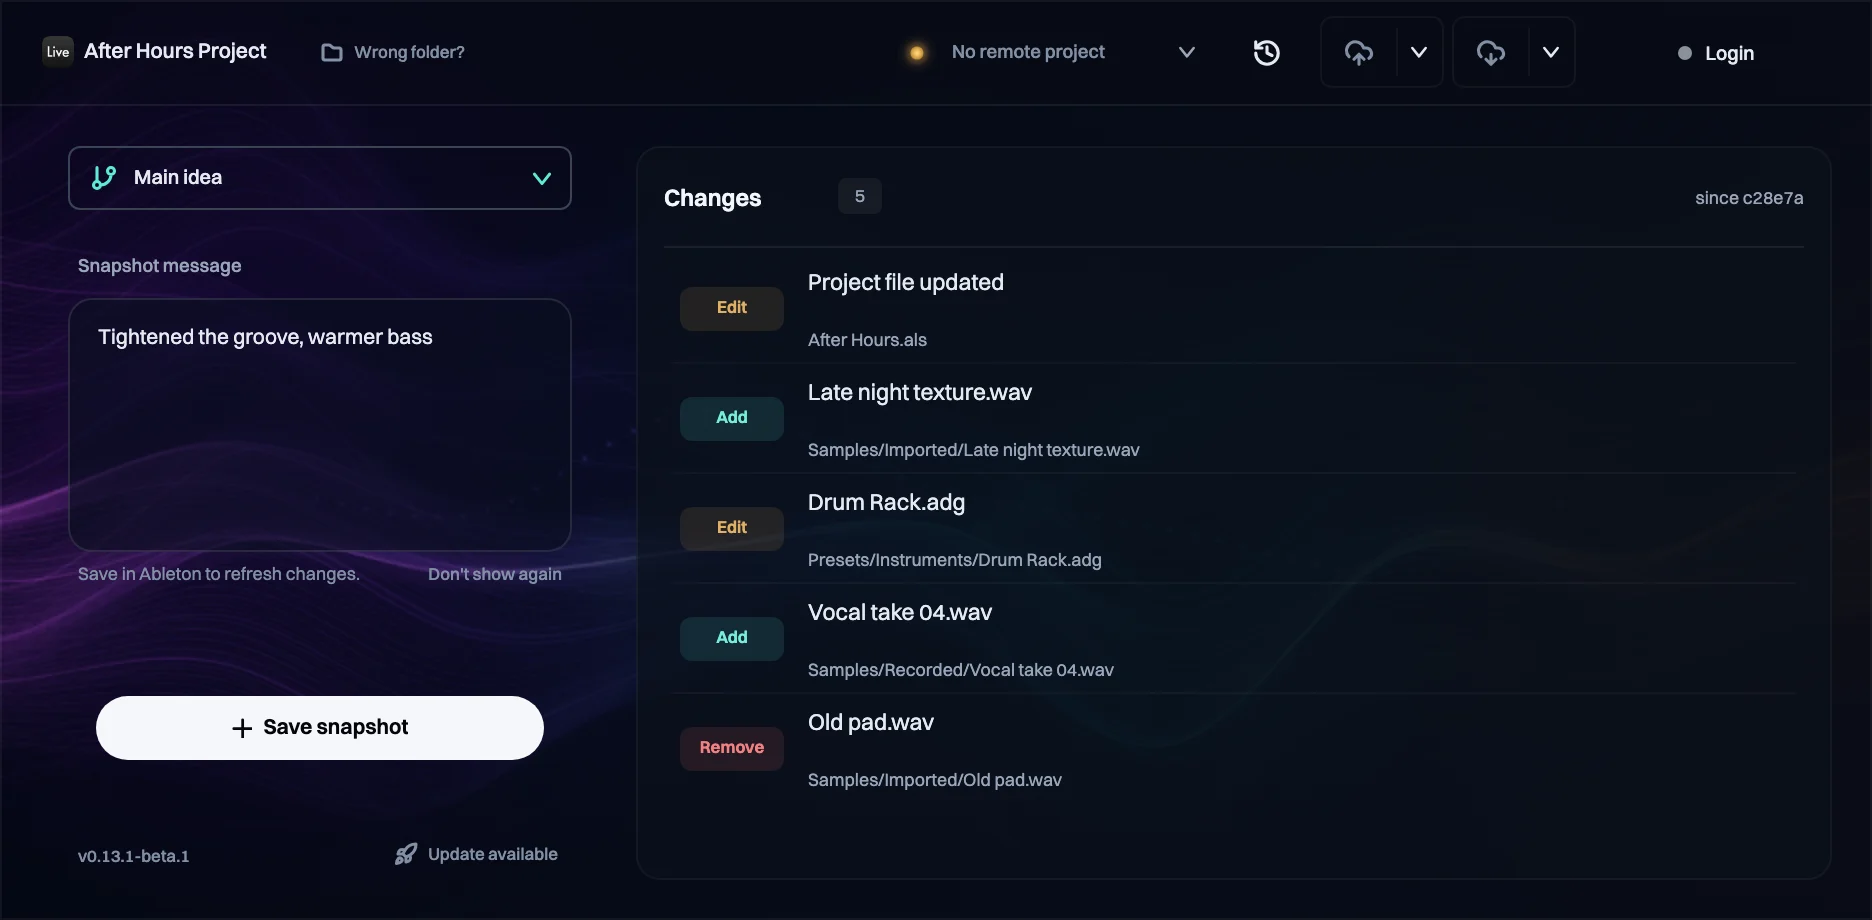
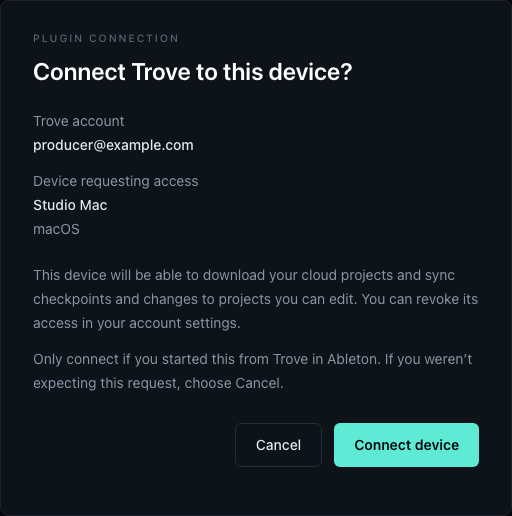
Add Trove to your project and click Login in the VST. Your browser opens; approve the connection and you're set.
Chapter 02
Saving Snapshots
A snapshot saves the whole project folder as it is right now: the set, samples, recordings, and presets. Save one whenever the track is somewhere you'd want to get back to.
In the VST
Save your first snapshot
- Save your Ableton project. Trove snapshots what's on disk, so anything you haven't saved in Ableton isn't included.
- Add Trove to any track. The Main track is a good home for it.
- Open the plugin window.
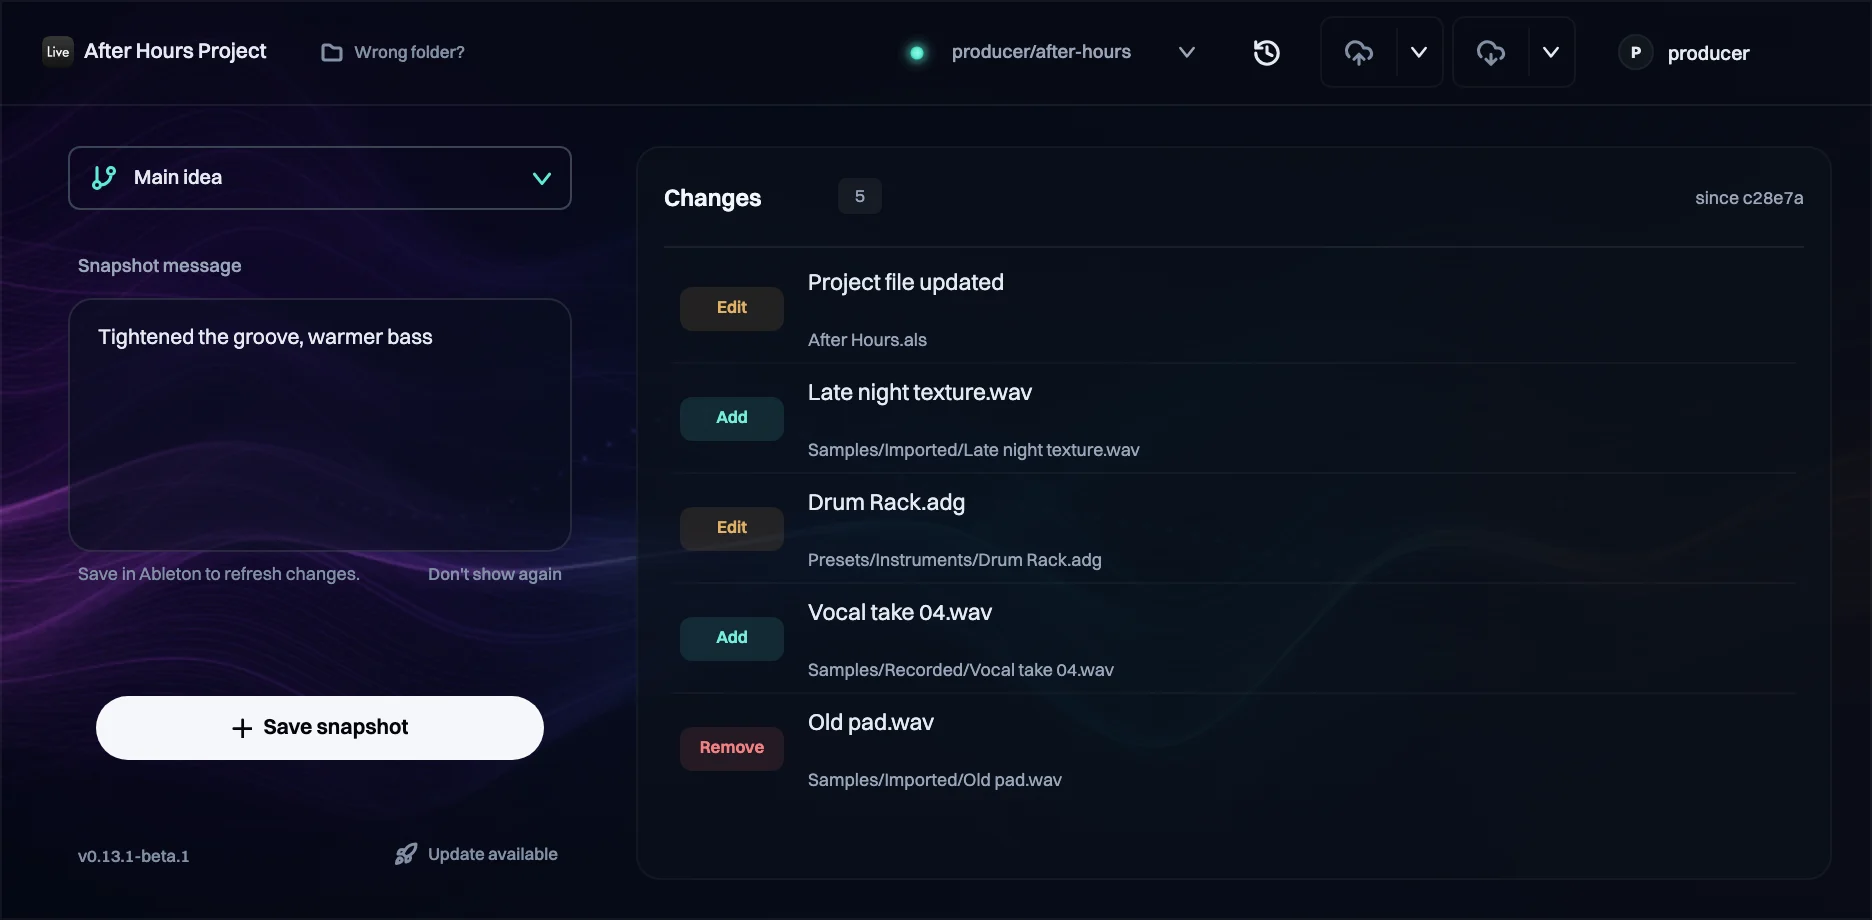
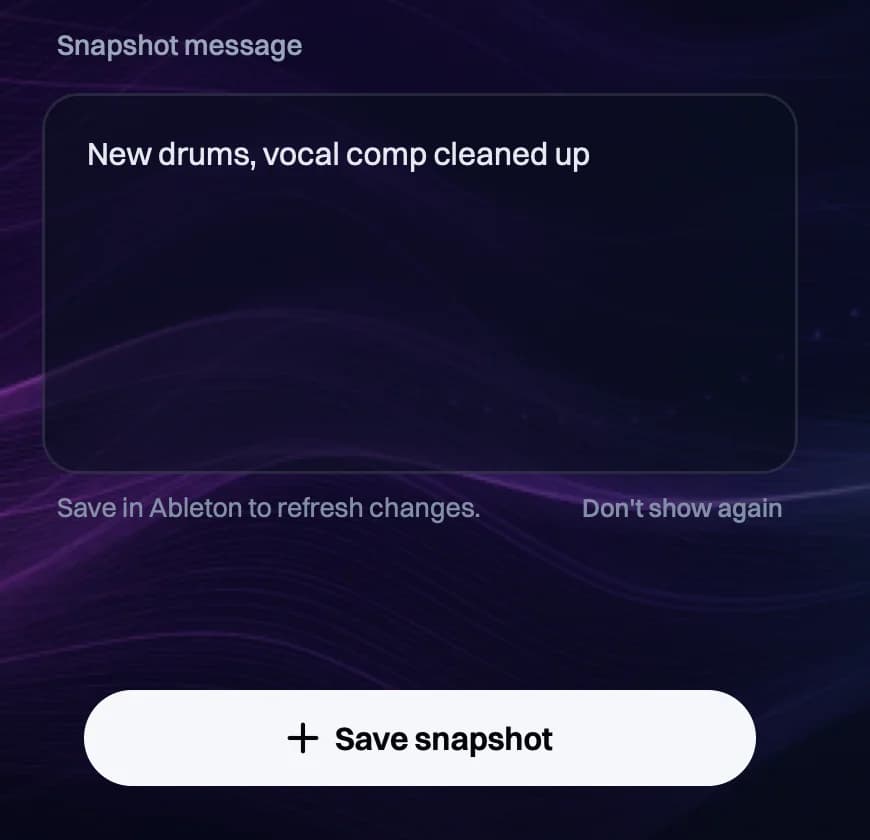
- Write a snapshot message and click Save snapshot.
In the VST
Write notes you'll understand later
- Say what changed, not everything you did. One line is plenty.
- Plain words work best: “before vocal comp,” “new drums,” “client mix pass.”
- Your notes become the project's history, so write them for your future self.
In the VST
Save before a risky change
A snapshot costs nothing, so take one before anything you might regret.
- Save a snapshot before you rework the drop, replace the drums, record vocals, or try a new mix.
- Use the note to say what you're about to try.
- Carry on. If the experiment doesn't work out, the snapshot is waiting in History.
Chapter 03
Cloud Sync
A cloud project backs your snapshots up off your computer, and it's where collaborators, comments, and audio previews live. It stays private until you change it.
In the VST
Create a cloud project
Link this Ableton project to a private project on Trove.
- Click the project button at the top of Trove. Until you pick one, it will say No remote project.
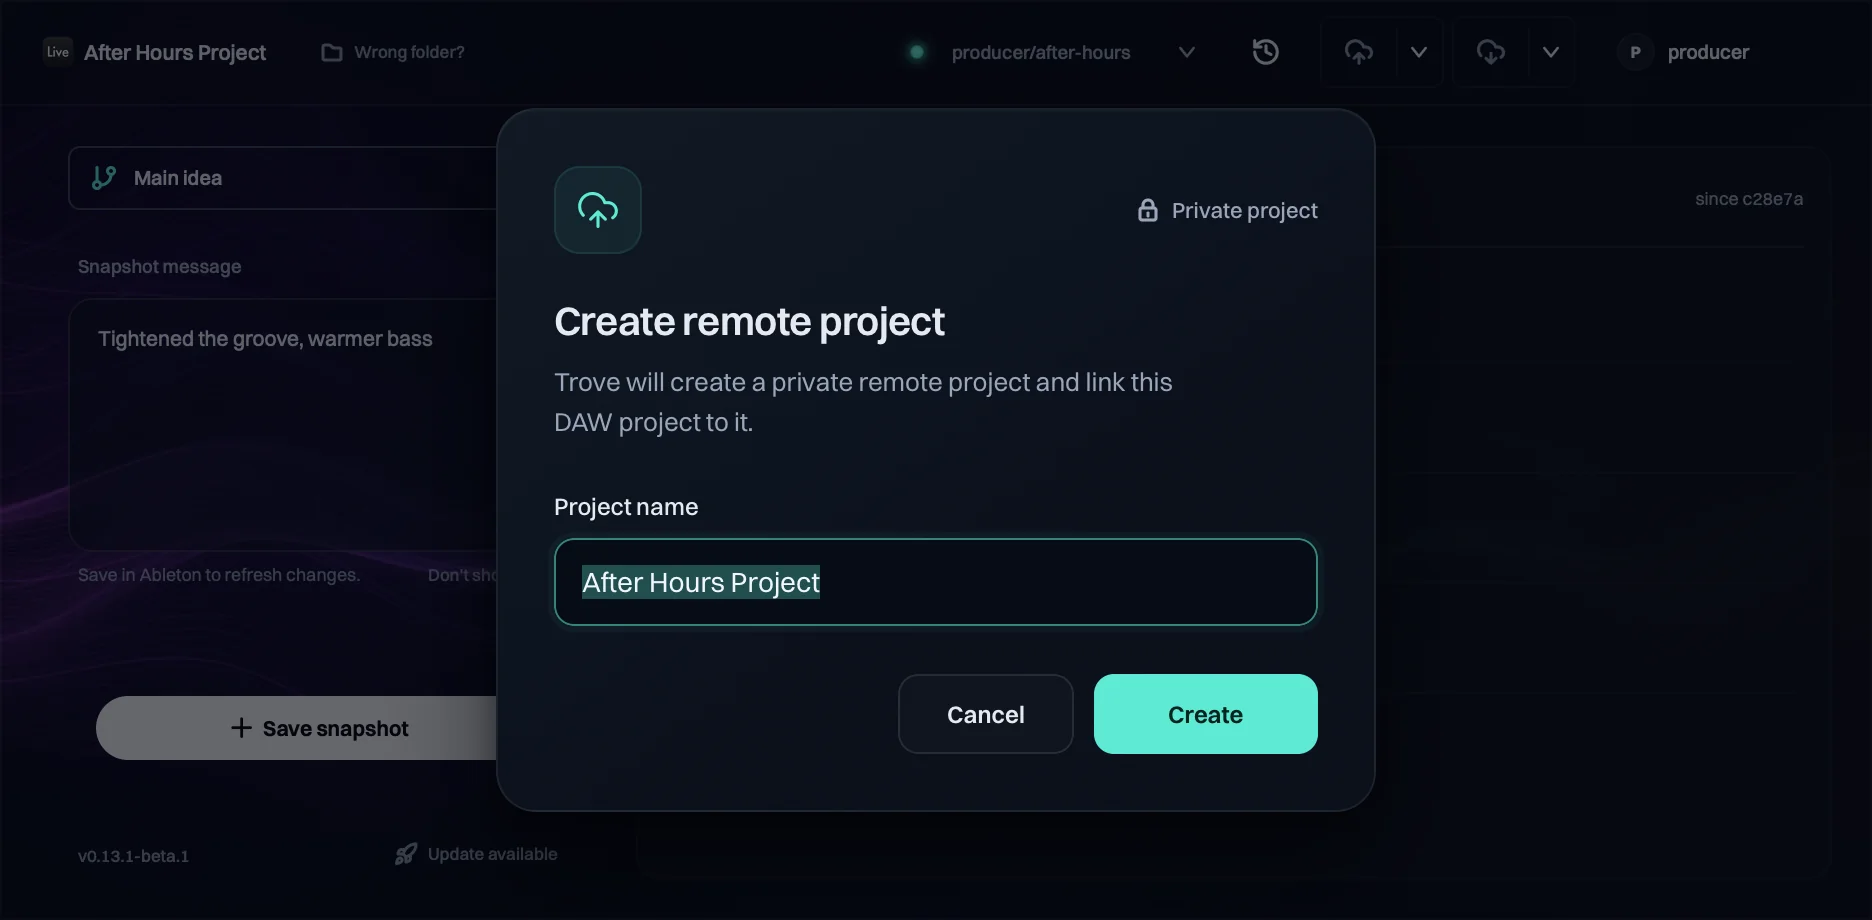
- Choose Create new remote project.
- Name it and click Create. Trove creates a private project and links this Ableton project to it.
VST to cloud
Sync your snapshots
Sync your snapshots so they're not stuck on one computer.
- Save a snapshot.
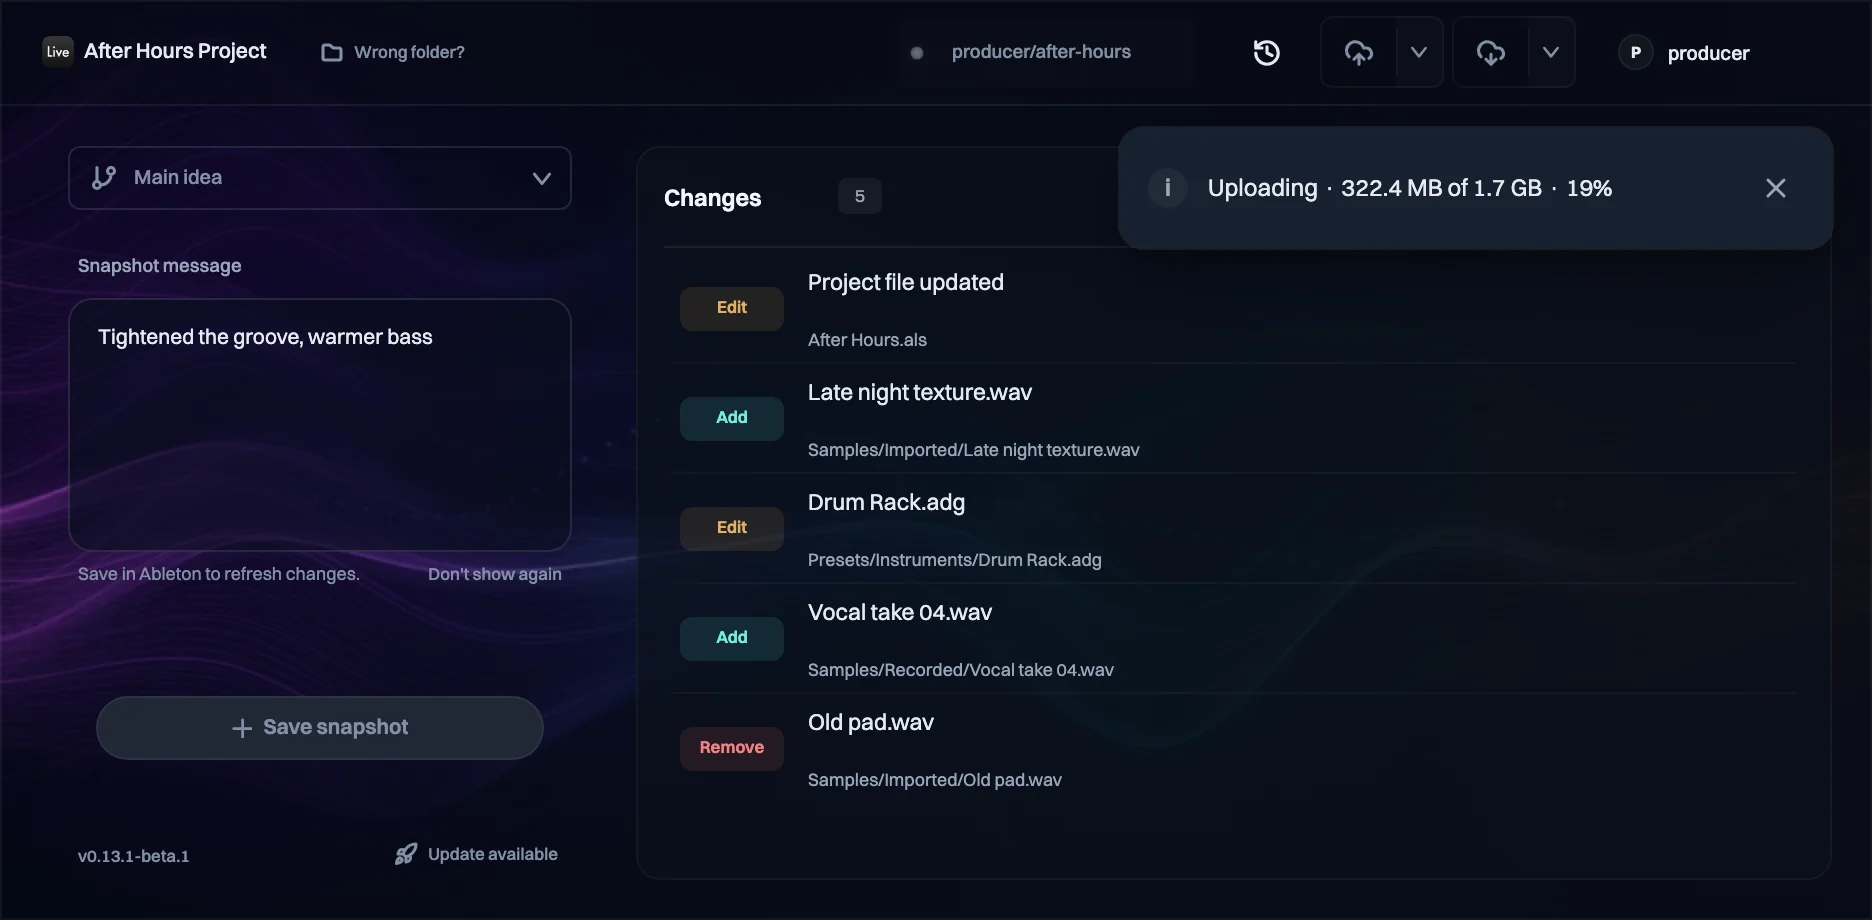
- Click the sync button at the top of Trove, the cloud with an arrow pointing up.
- The first sync uploads the whole project. After that, only new snapshots go up.
On the web
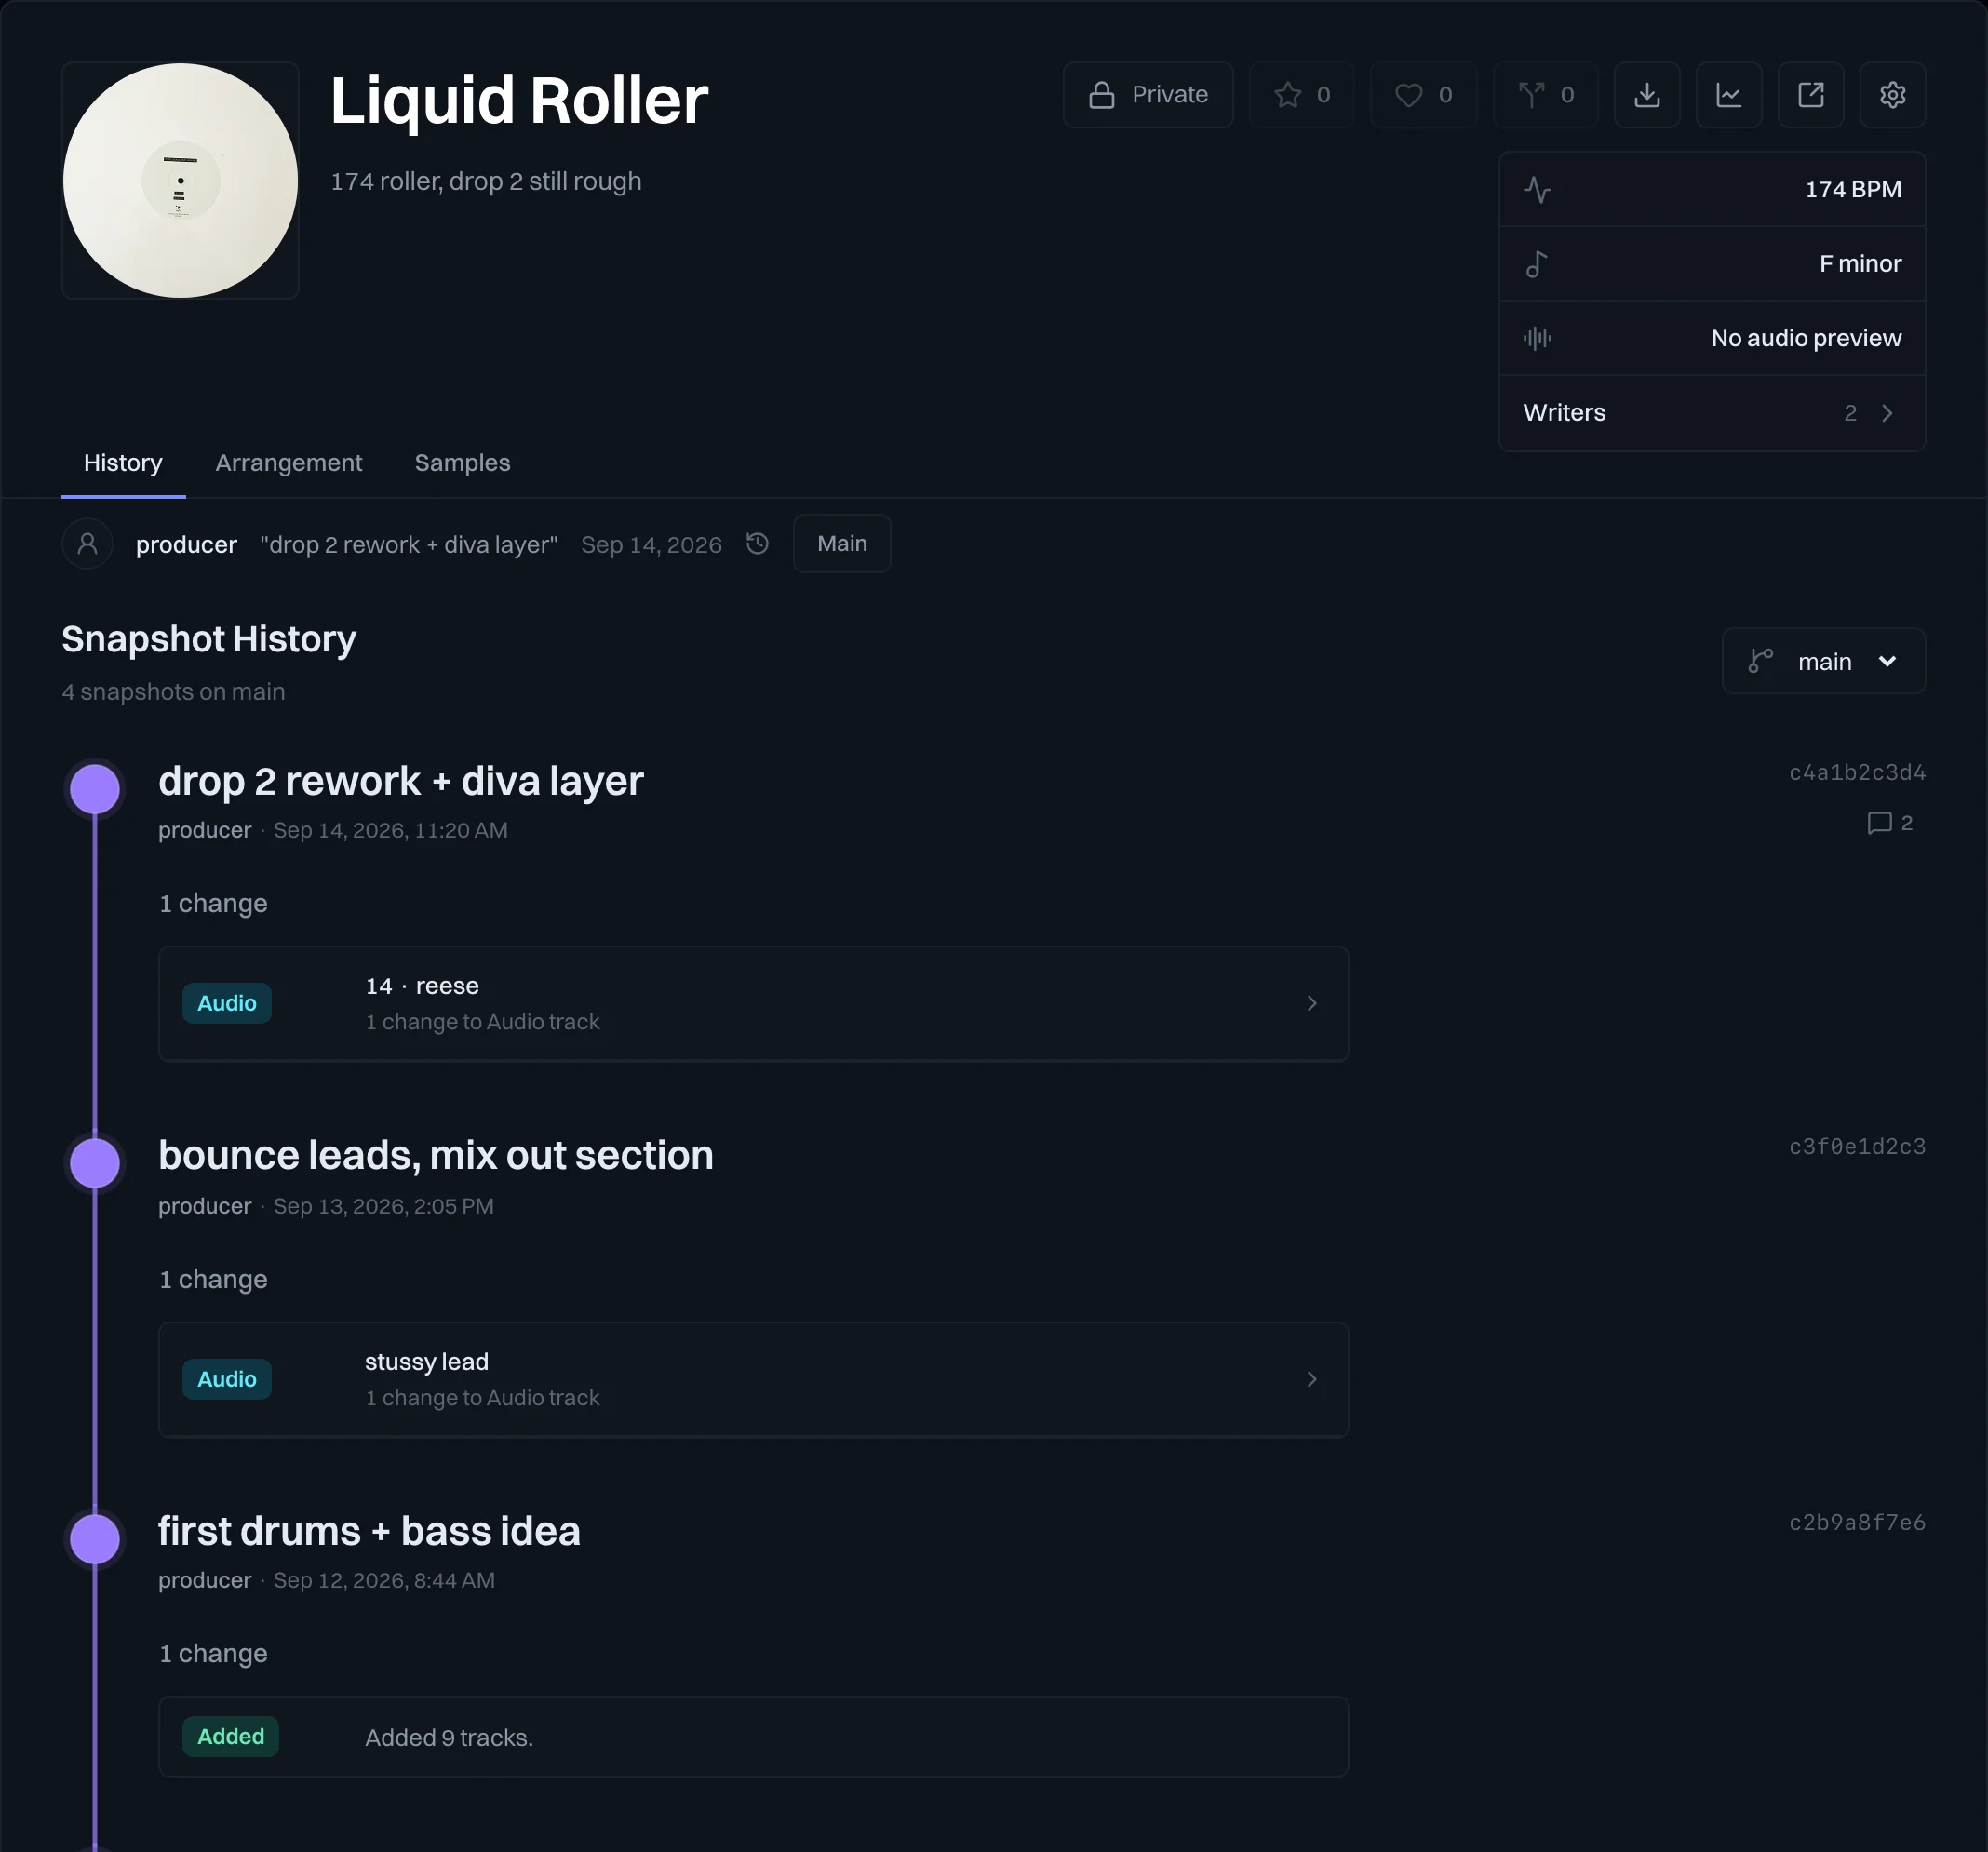
View your project on the dashboard
Every synced snapshot shows up on your project's page.
Chapter 04
Seeing What Changed
Trove reads your Ableton set, so it can tell you what changed in musical terms. The plugin shows it as you work, and the website shows it across the whole arrangement.
In the VST
Check your changes before saving
- Save in Ableton. Trove refreshes its list each time you do.
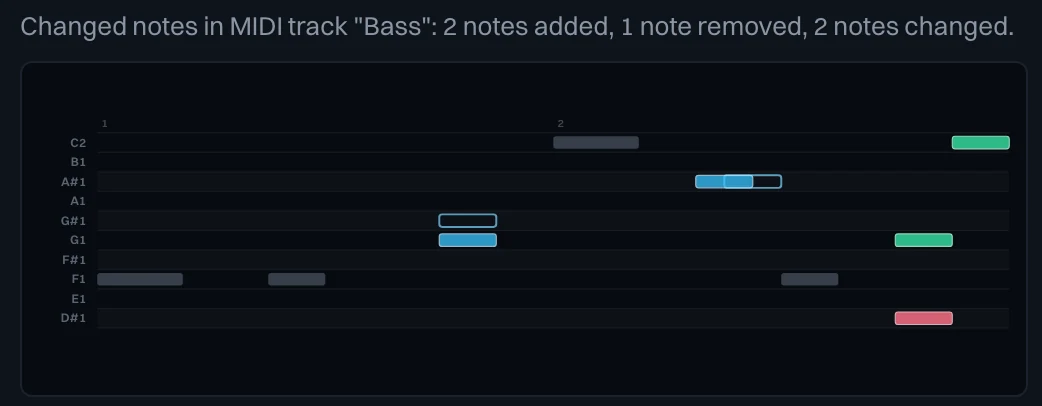
- Open Trove. The Changes list shows everything that's different since your last snapshot.
- Click a change to see the details.
On the web
Compare snapshots on the web
Watch the arrangement change between two snapshots.
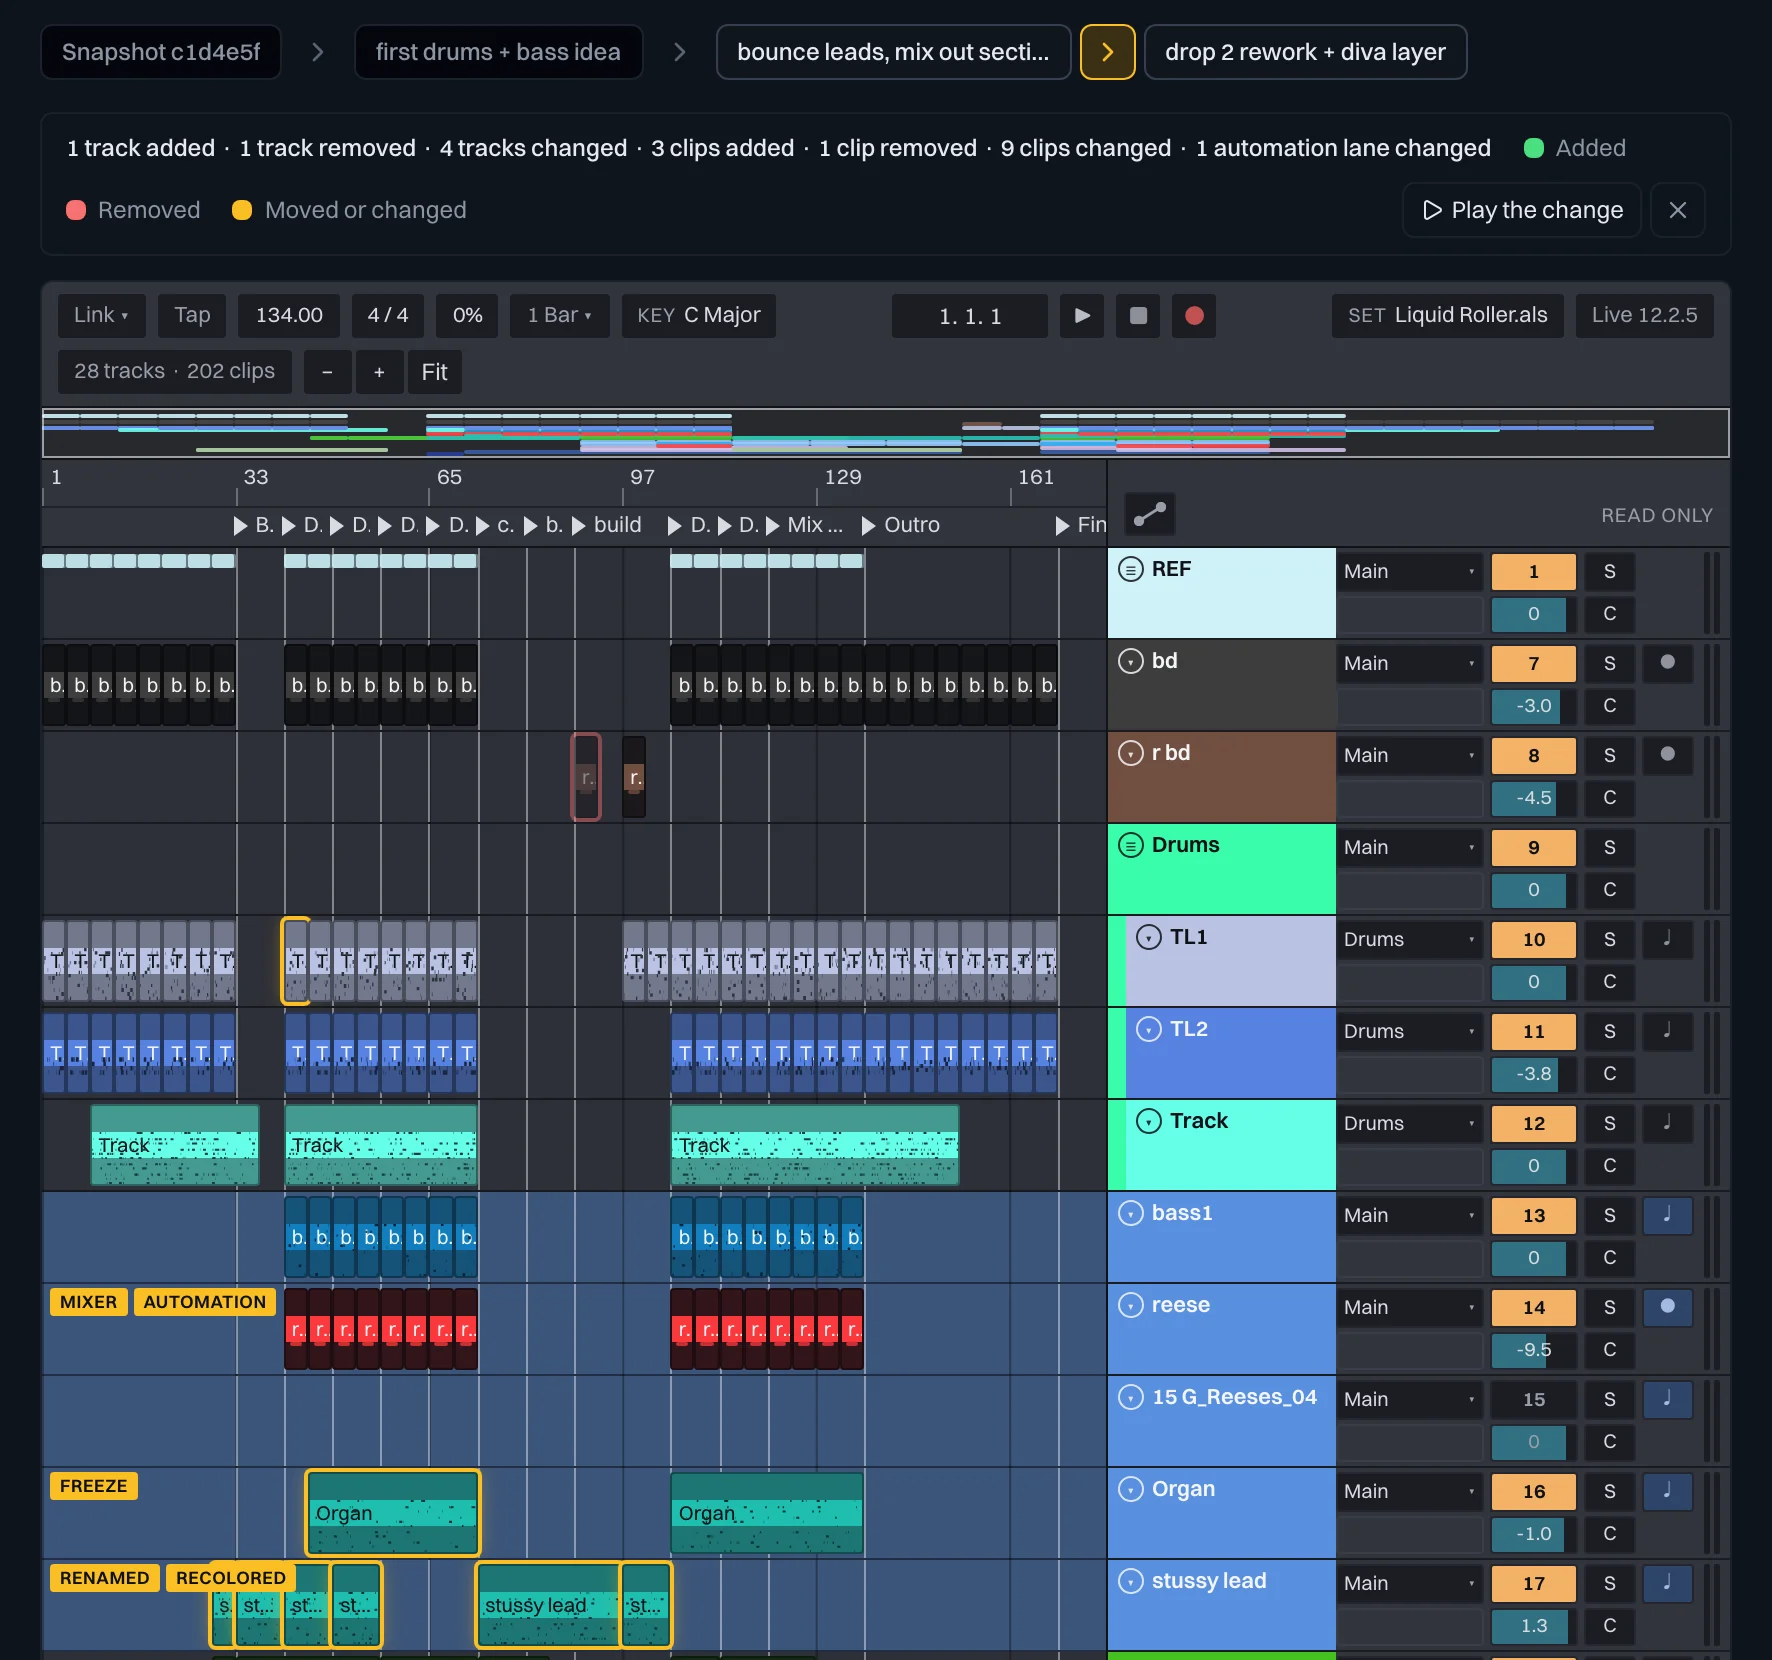
- Open your project on the Trove website and go to the Arrangement tab.
- Your synced snapshots run along the top. Click one to see its arrangement.
- Click the arrow between two snapshots to see what changed: green was added, red was removed, and amber moved or changed.
- Click Play to watch the edit happen.
On the web
Play and download samples
Every sample in a snapshot, playable in the browser.
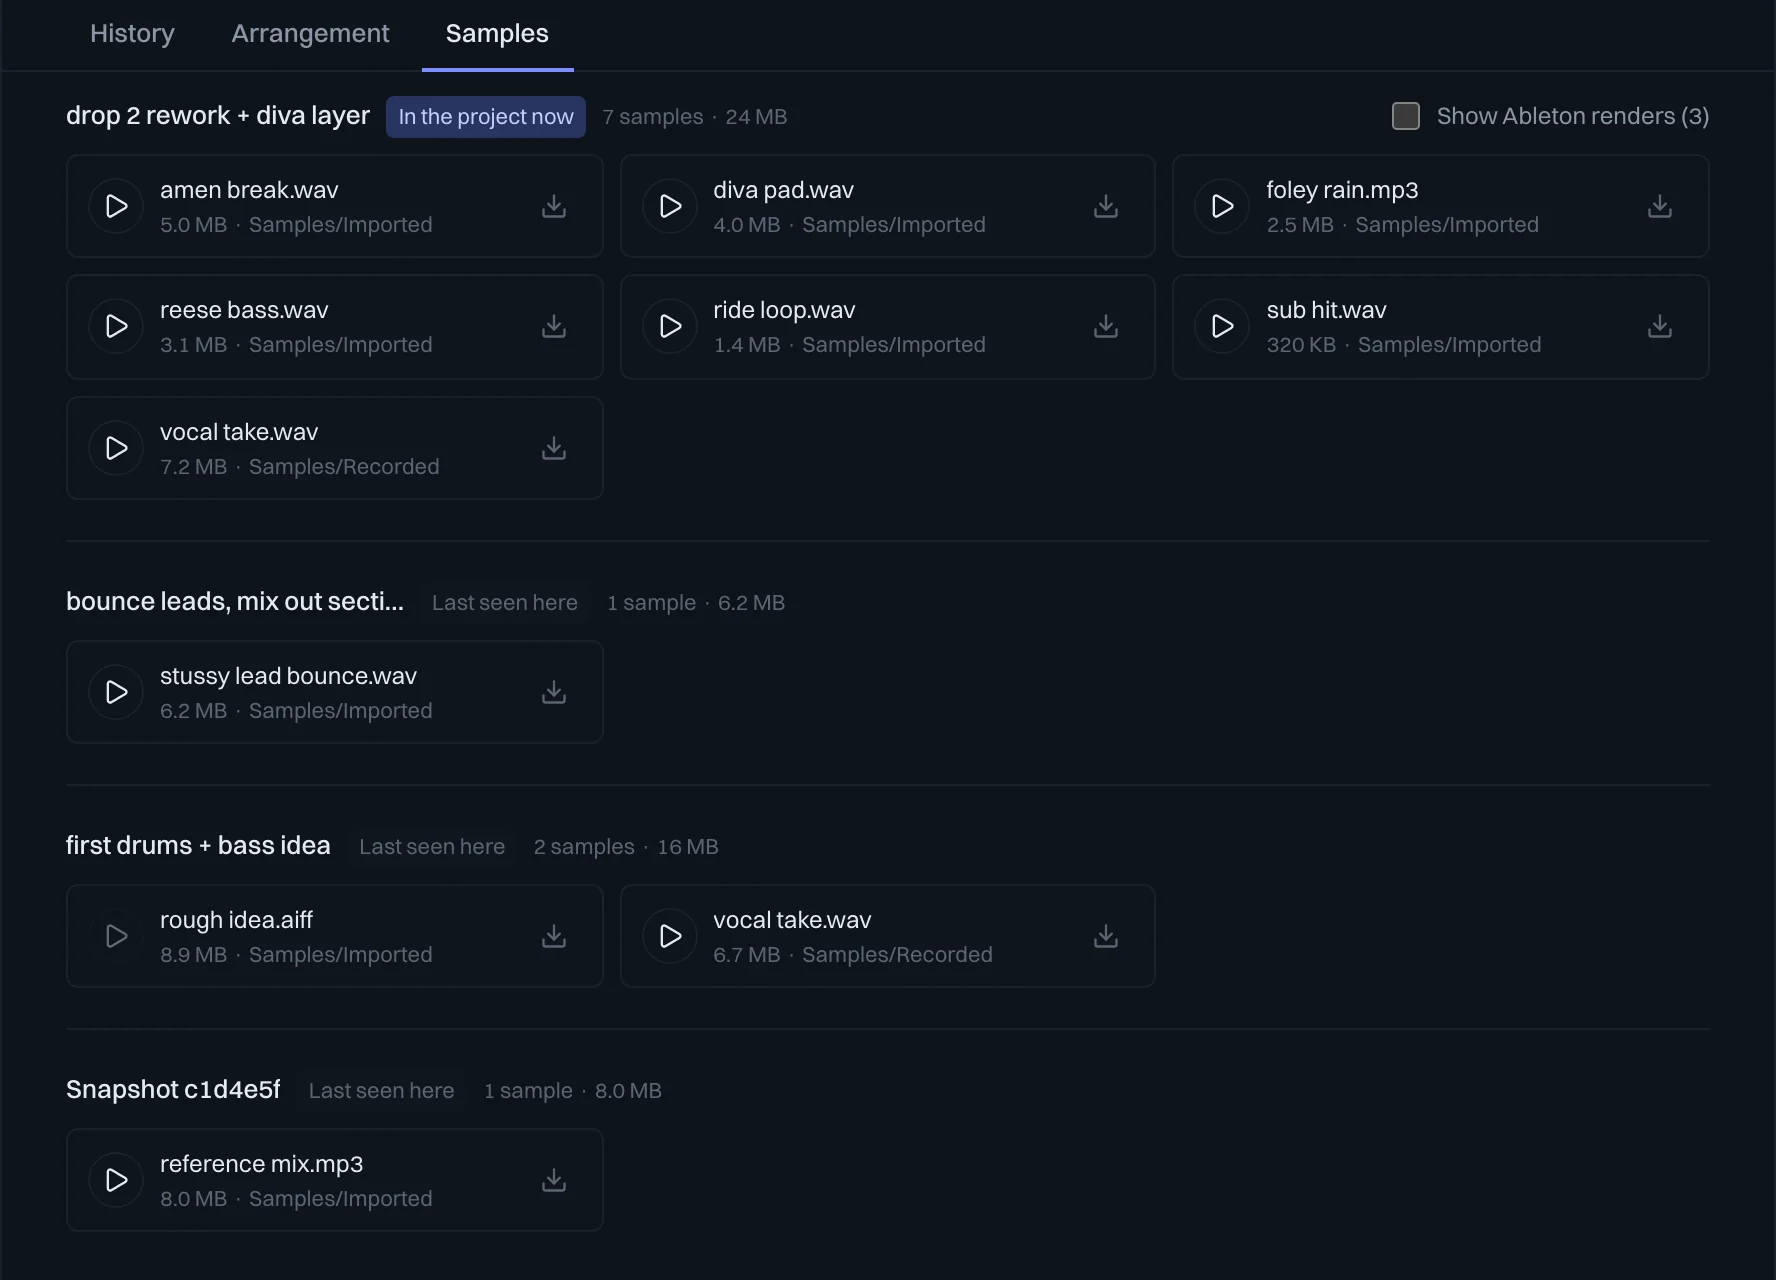
- Open the Samples tab on your project page.
- Samples are grouped by snapshot. Press play on one to hear it in the browser.
- Click the download button next to a sample to save it, if the project allows sample downloads.
Chapter 05
Collaborating
Bring in the people you make music with. Everyone works from the same history, and feedback stays attached to the version it's about.
You · On the web
Invite them
Give the people you work with writer access to the project.
- Open the project on the Trove website and click Project settings, the gear.
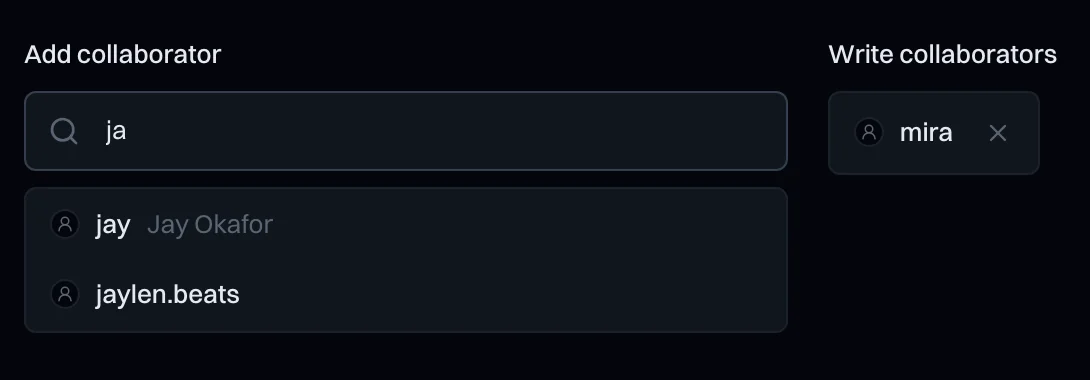
- Under Add collaborator, search for their Trove username and pick them.
Them · Their computer
They install Trove and log in
They install Trove, add it to a track in Ableton, and log in with their own Trove account.
Them · In the VST
They open the project
They click the project button and pick your project. Trove will then download and open it.
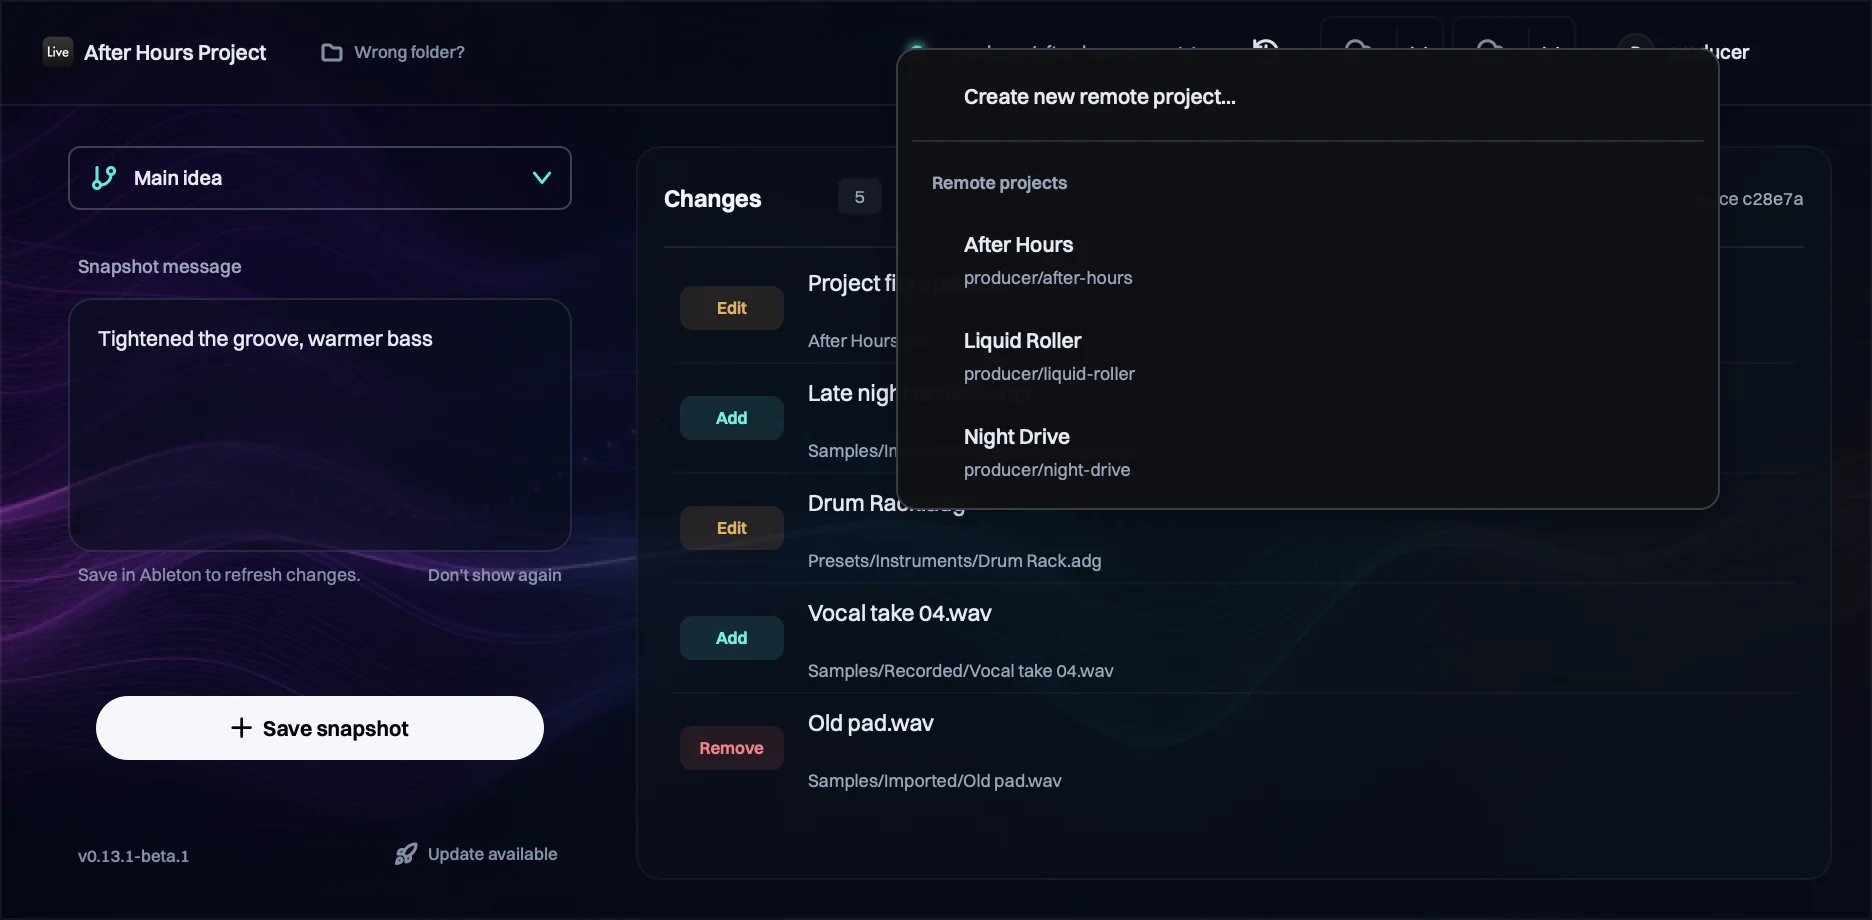
Them · In the VST
They save and sync their changes
They save a snapshot with a note and click the cloud with an arrow pointing up. Their snapshots join the project's history.
You · In the VST
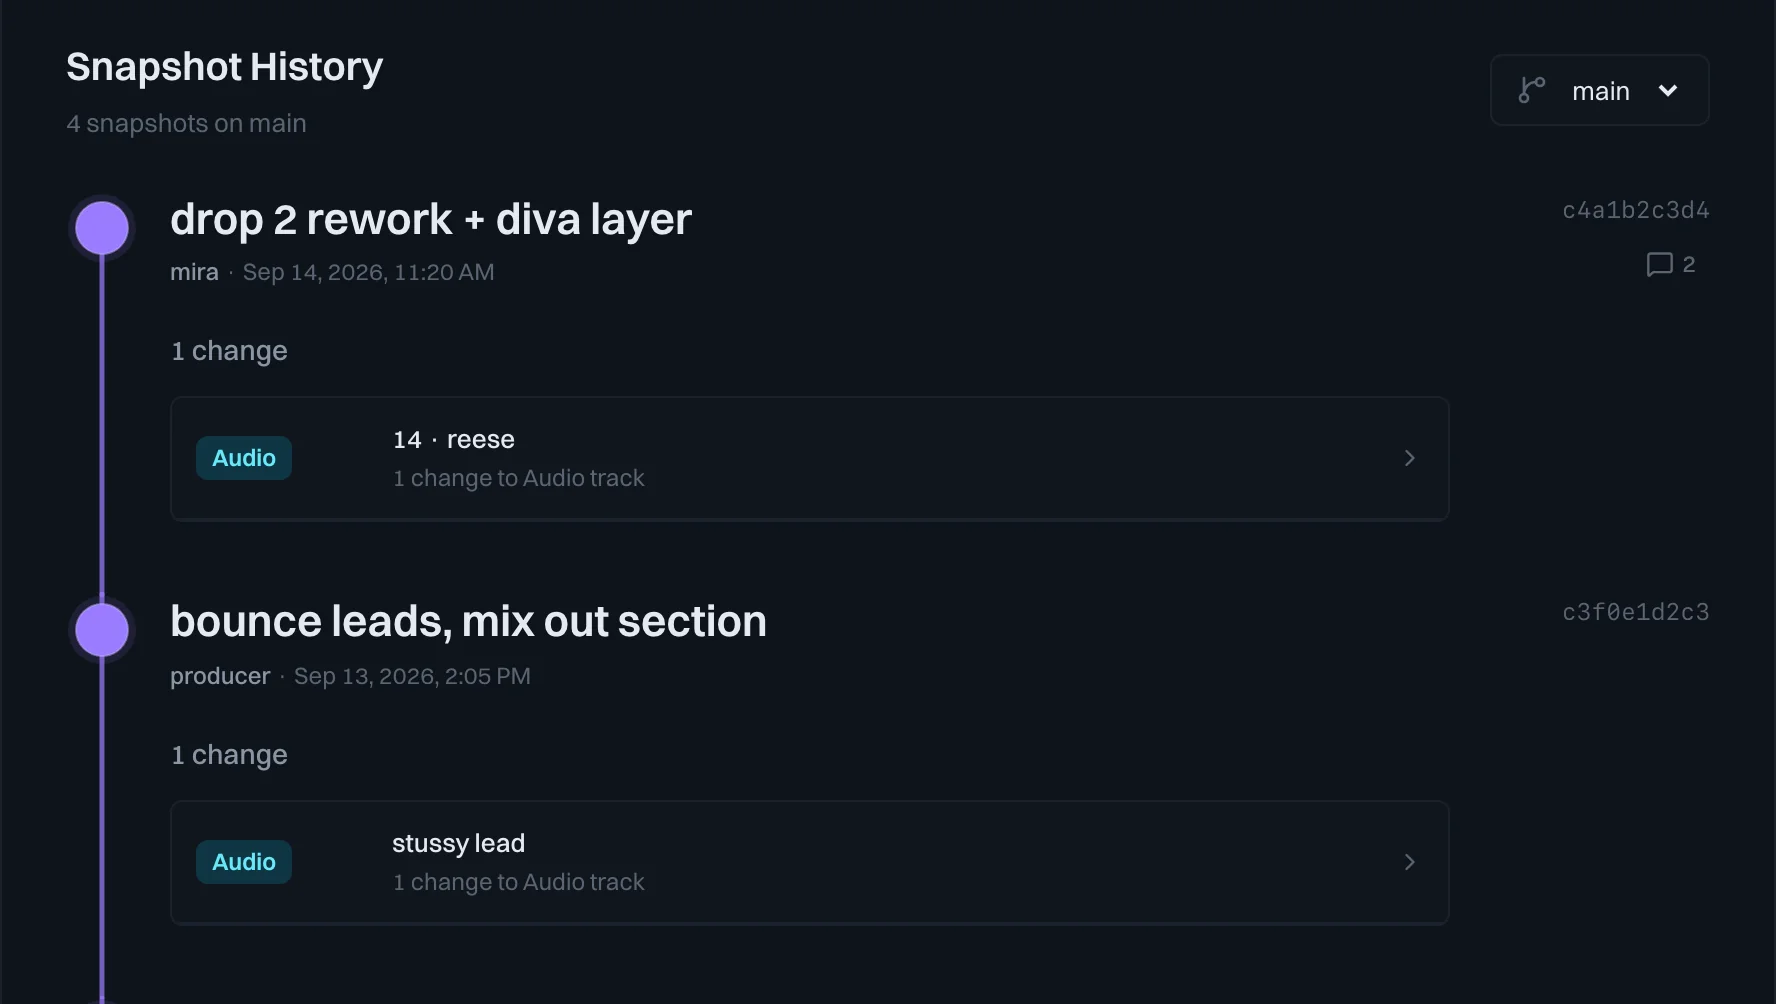
You get their changes
Click the cloud with an arrow pointing down. Ableton will open the project with their changes.
Either of you · On the web
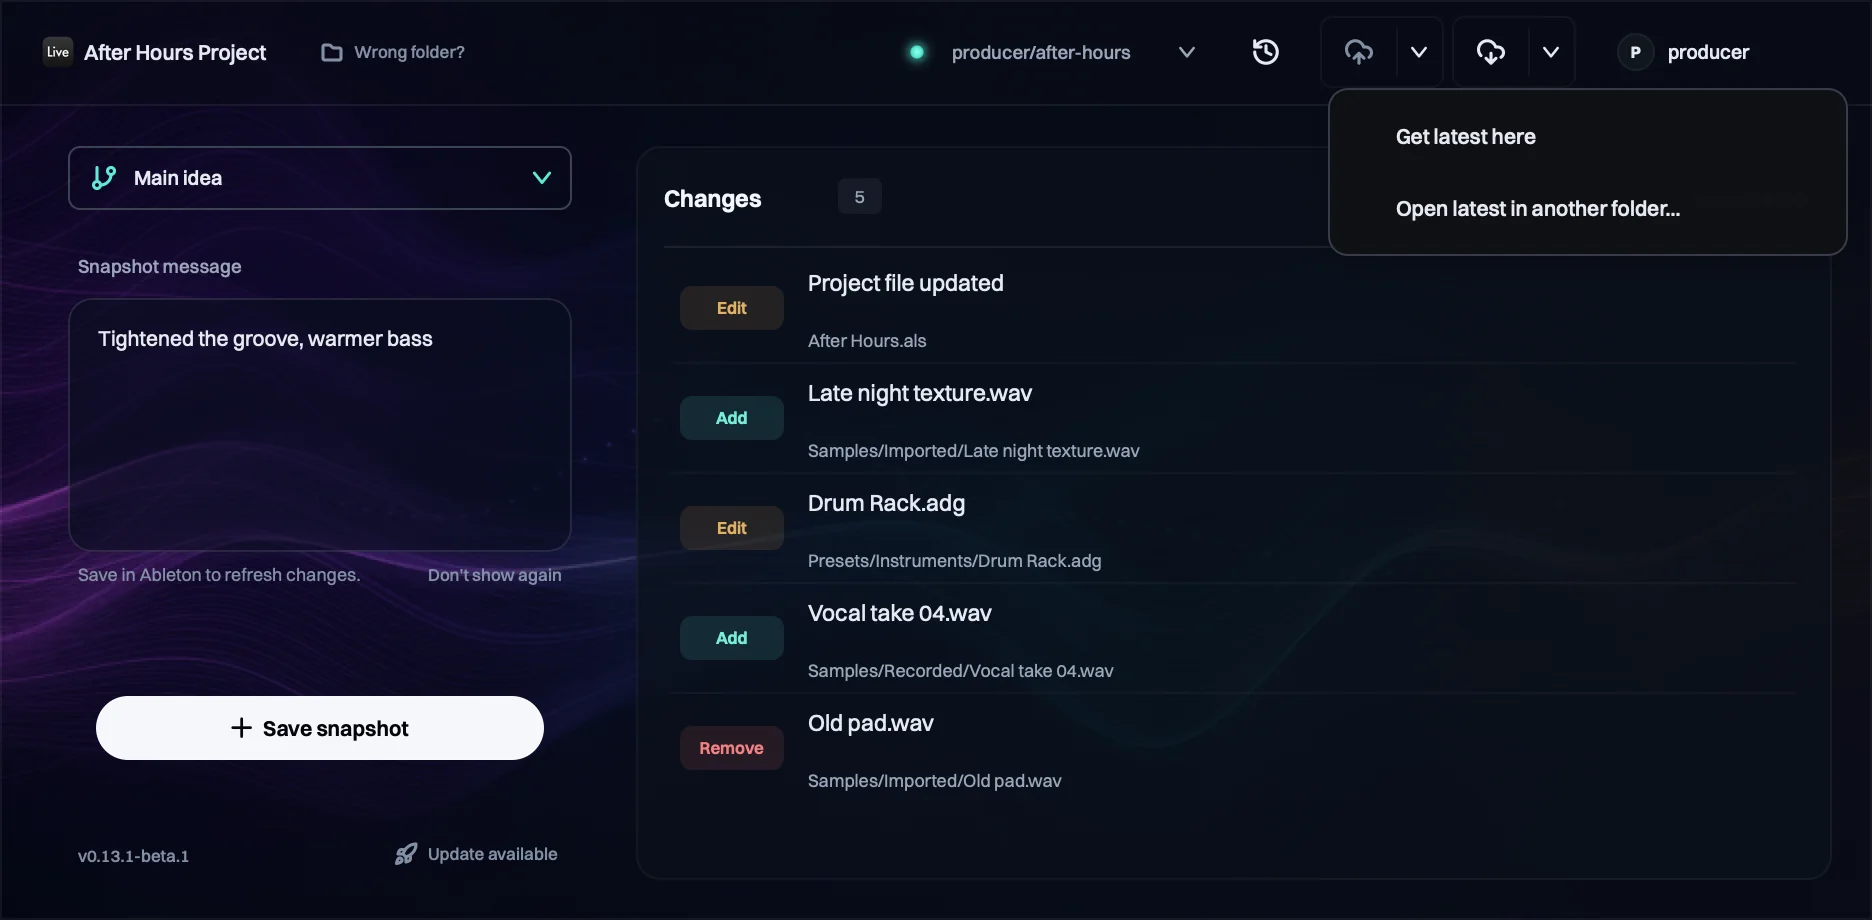
Talk about a version
Leave notes on the project dashboard by leaving comments on any snapshot.
Either of you · On the web
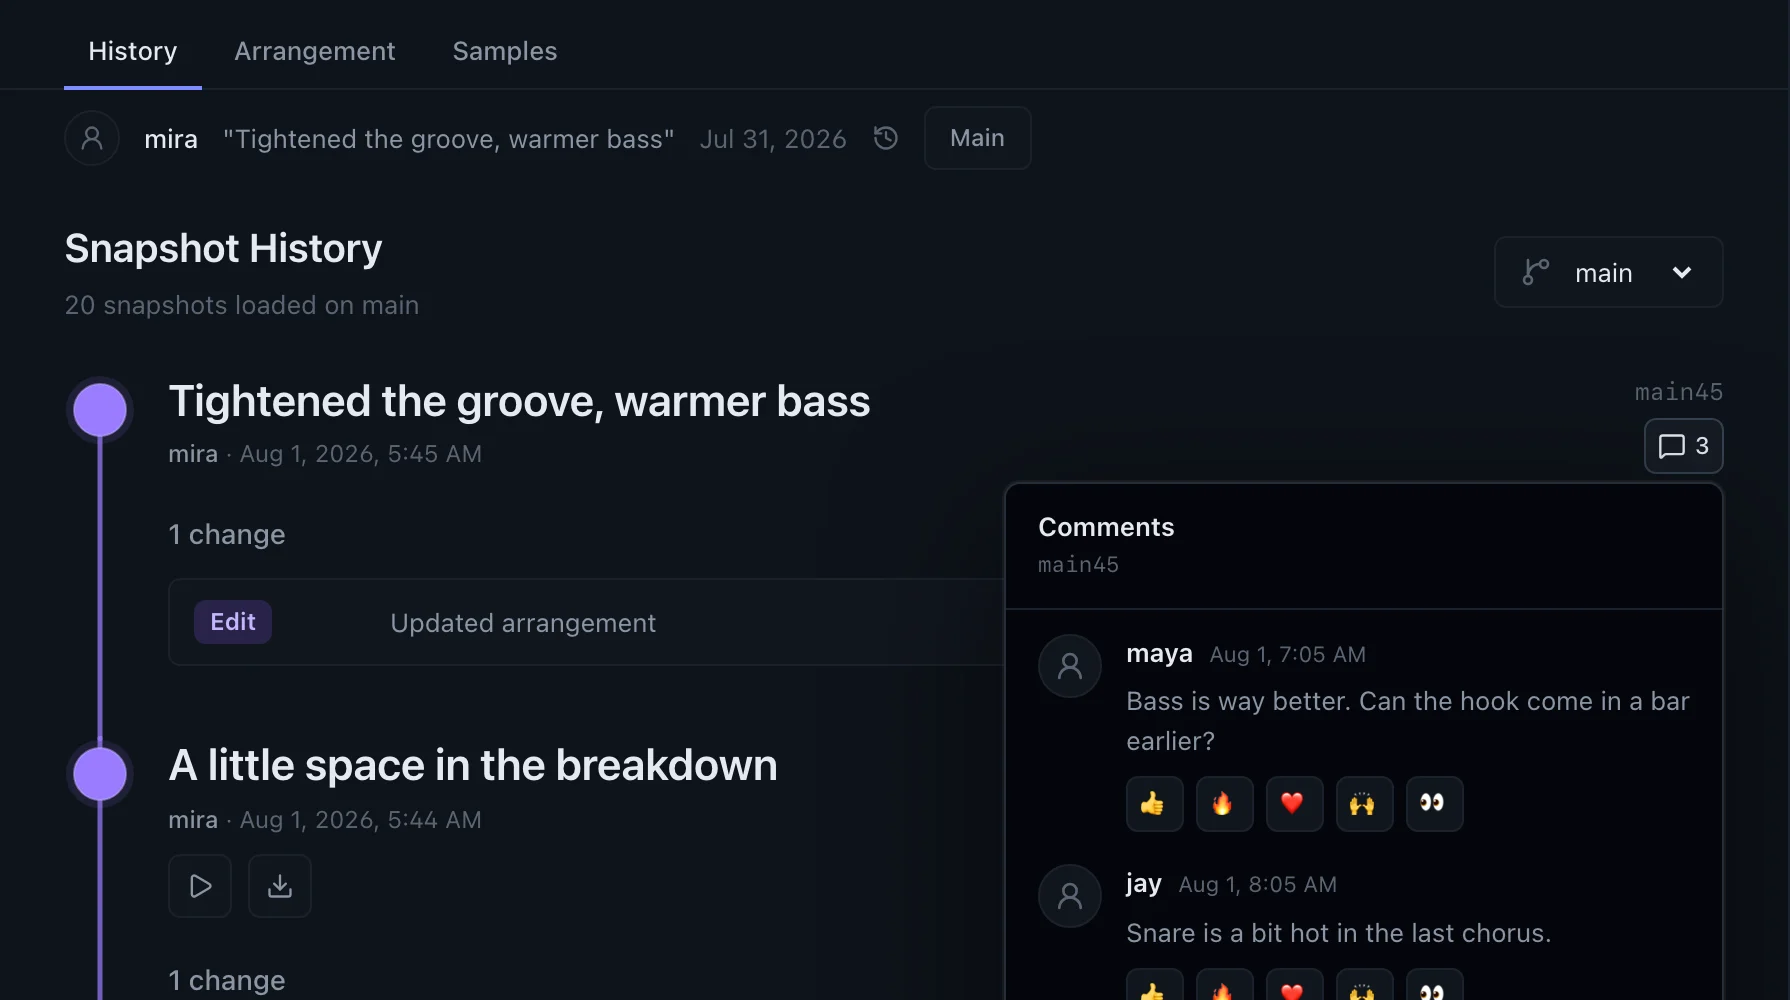
Share a bounce
Sync a snapshot and upload that project's bounce to the project dashboard.
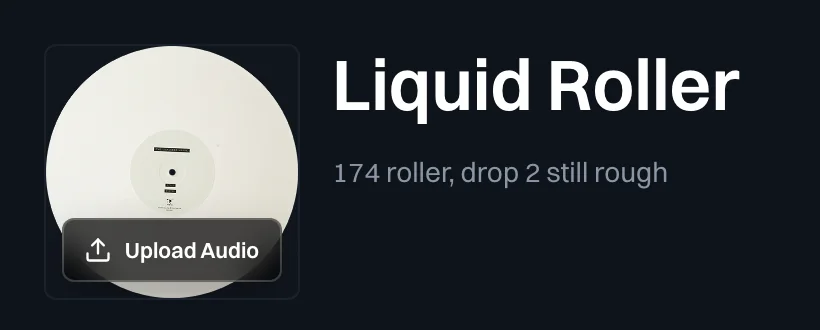
You · On the web
Let someone listen
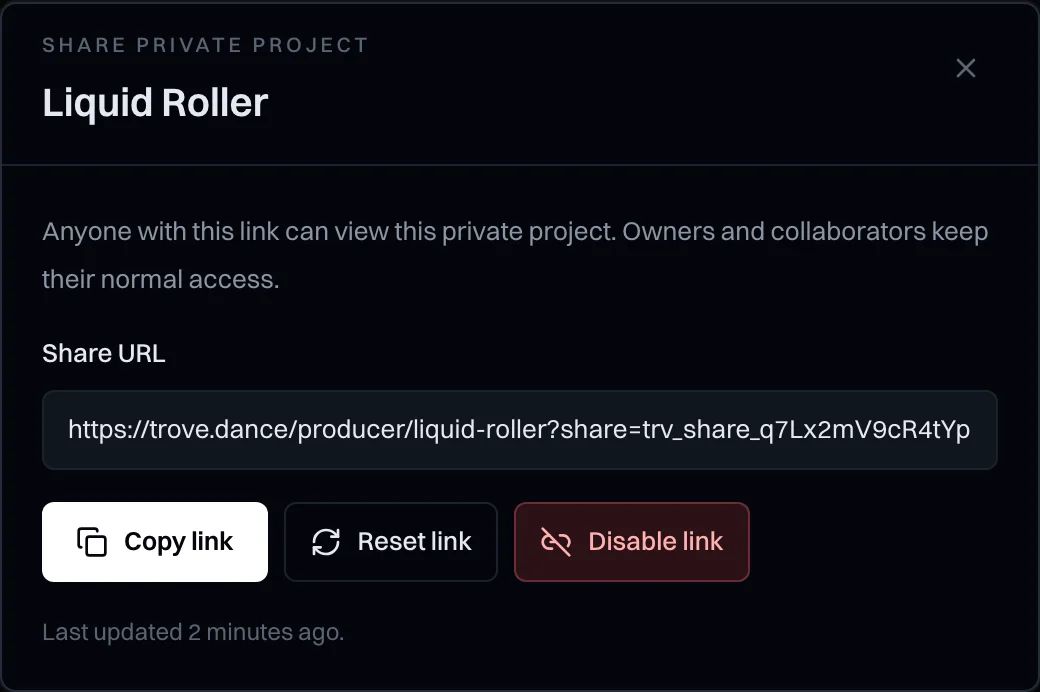
Share the project page with people you don't want editing.
- On the project page, click the share button.
- Click Create share link, then Copy link.
- Anyone with the link can open the project page, so send it only to people who should hear it. Resetting the link shuts out everyone who has the old one.
Chapter 06
History and Restoring
Every snapshot stays in history with its note, so an earlier version is always a click away. Restoring never overwrites what you have now.
In the VST
Look back through history
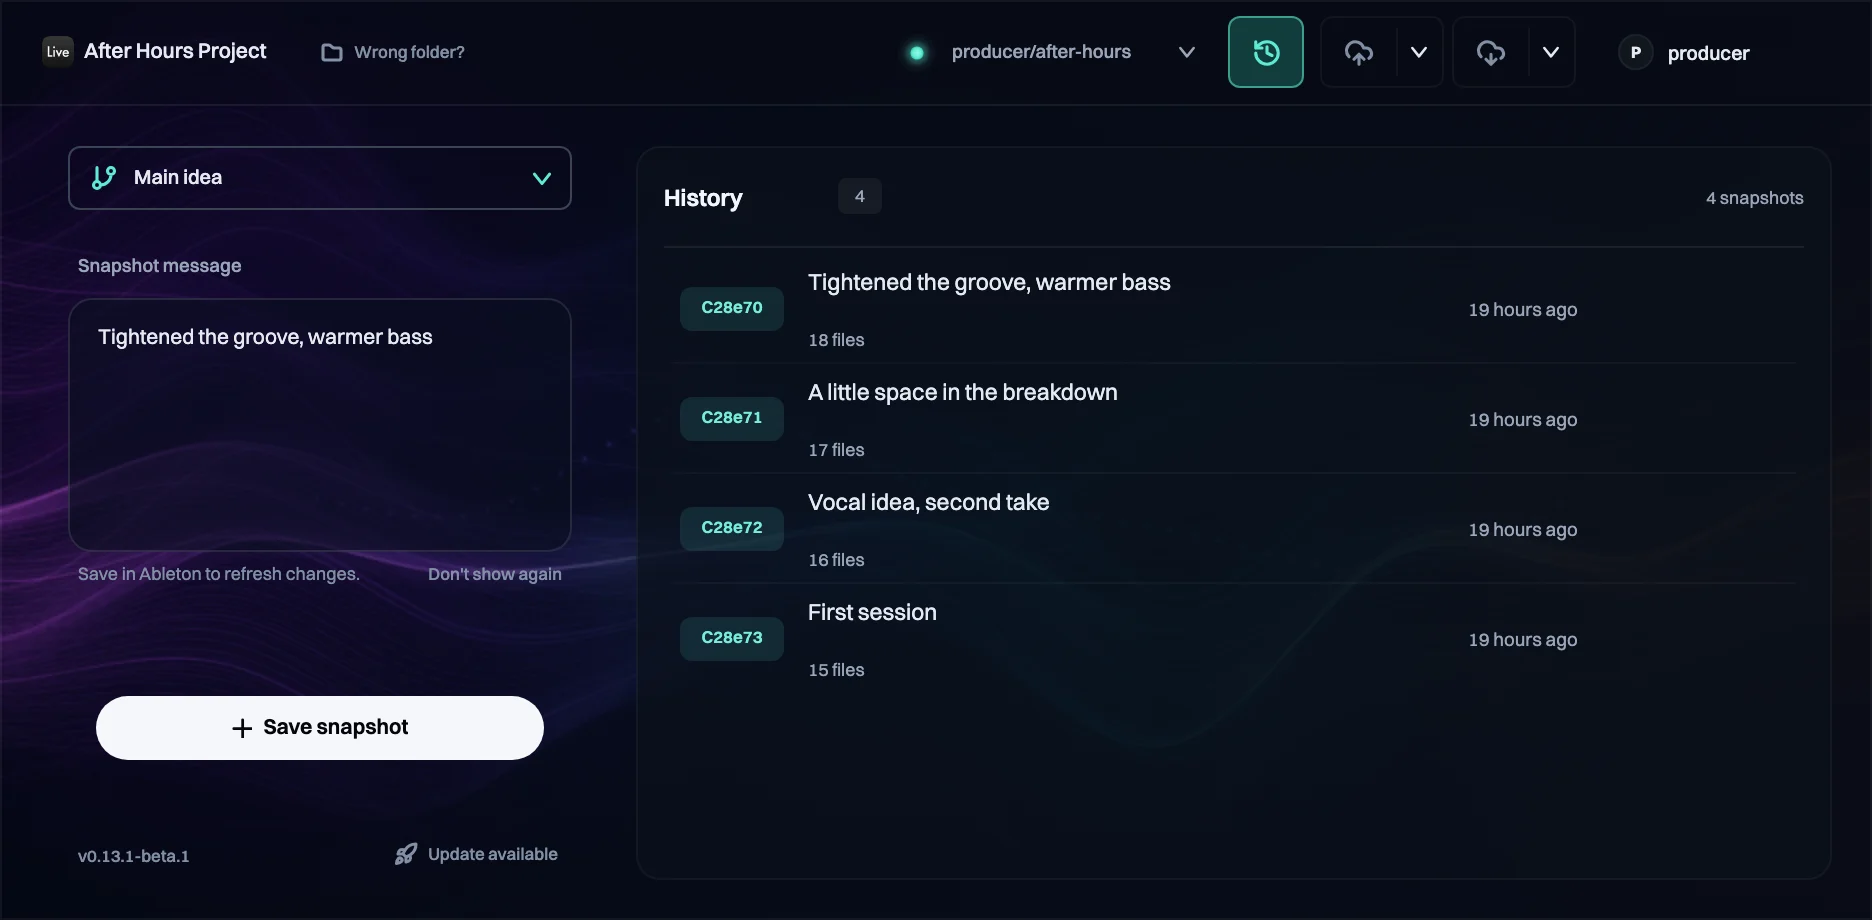
Your notes turn history into a summary of every session.
- Click the History button at the top of Trove, the clock.
- Each snapshot shows its note and when it was saved. Click one to see what changed in it.
- Click the back arrow to return to the list.
In the VST
Restore an older version
Bring back an earlier version without losing anything you have now.
- Open History and click the snapshot you want back.
- Click Restore and choose where to put it.
- Trove writes that snapshot into a new folder. Your current project and its history stay exactly as they were.
- Open the set in the restored folder and carry on from there.
Chapter 07
Alternate Ideas
Try a different direction without touching the main version. Each idea gets its own project folder, so you can switch back at any time.
In the VST
Start an alternate idea
Try a different direction in its own project folder.
- Save a snapshot. The idea starts from there.
- Open the Ideas menu in Trove and choose Create alternate idea.
- Name it and click Create. Trove makes a separate project folder for the idea.
- Open that project to work on the idea. The main version stays as it was.
In the VST
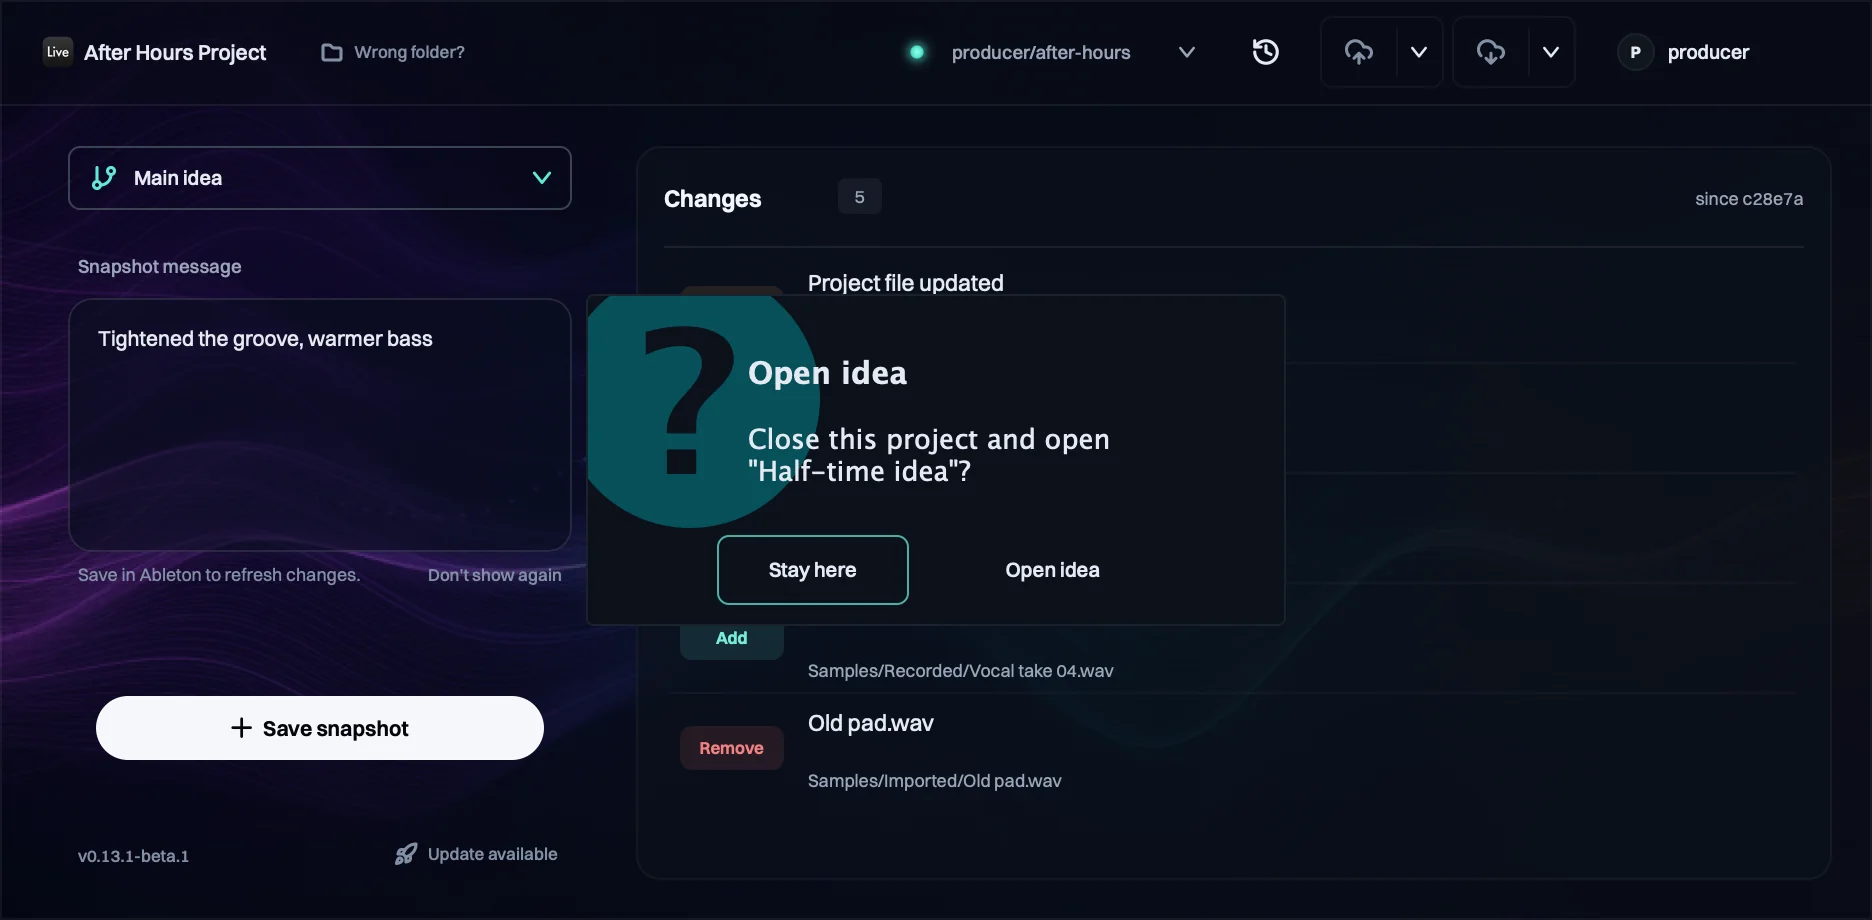
Switch between ideas
Move between the main version and your ideas.
- Pick an idea from the Ideas menu.
- If you have changes you haven't saved as a snapshot, Trove asks you to save one first.
- Click Open idea. Trove closes this project and opens the idea's.
VST to cloud
Radio edits, club mixes, and client versions
Keep a version of the track for every job it's for.
- Start from the snapshot that has the right foundation.
- Name the idea for the job: “radio edit,” “club mix,” “vocal up for the client.”
- Sync it, and it appears as its own branch on the project page, where collaborators can hear and download it.
Chapter 08
Access and Sharing
You decide who can hear, see, and download each part of a project.
On the web
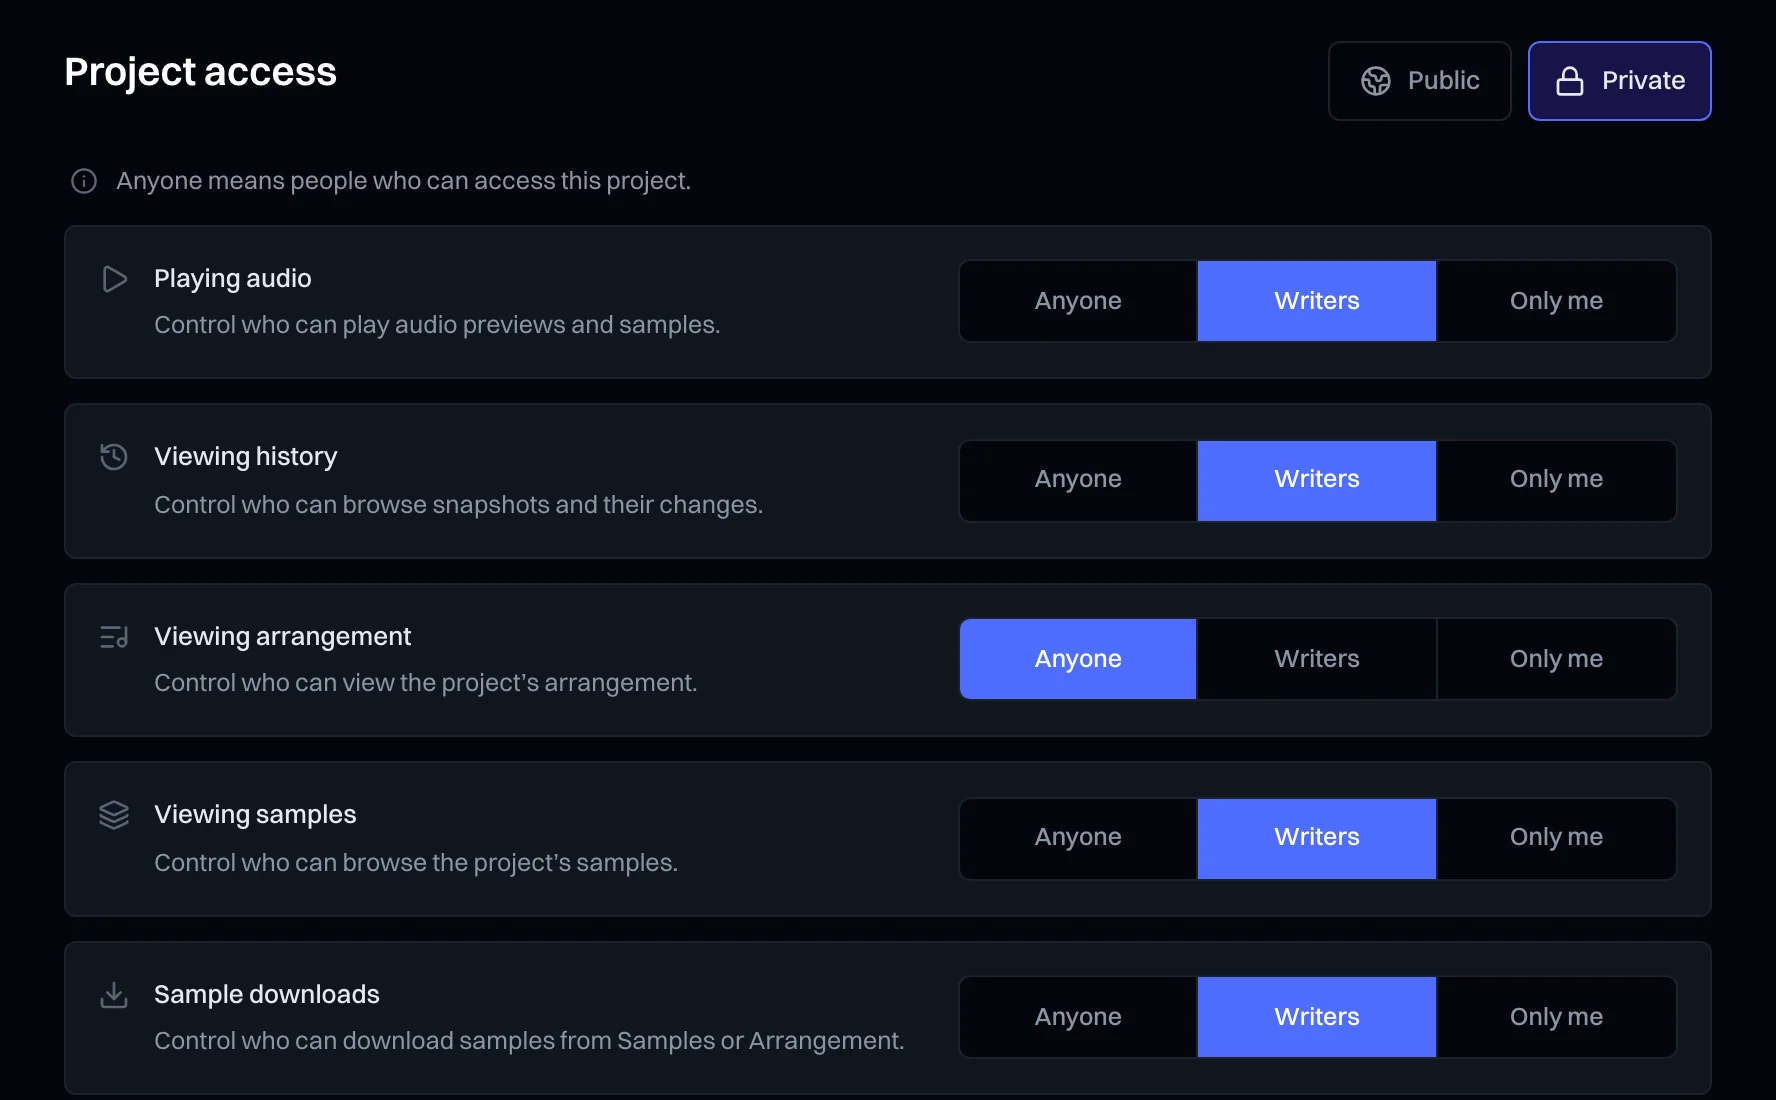
Choose who can play, view, and download
Each part of the project has its own access setting.
- Open Project settings and find Project access.
- Each feature has its own setting, from playing audio and viewing the arrangement to downloads, uploads, and comments.
- Pick Anyone for everyone who can open the project, including private links, Writers for you and your collaborators, or Only me.
On the web
Make a project public
Let anyone open the project page.
- Open Project settings.
- Switch the project from Private to Public. Anyone can now open the project page.
- Review Project access first. On a public project, Anyone means everyone.
Chapter 09
Profile
Your page, your account, and the computers Trove is signed in on.
On the web
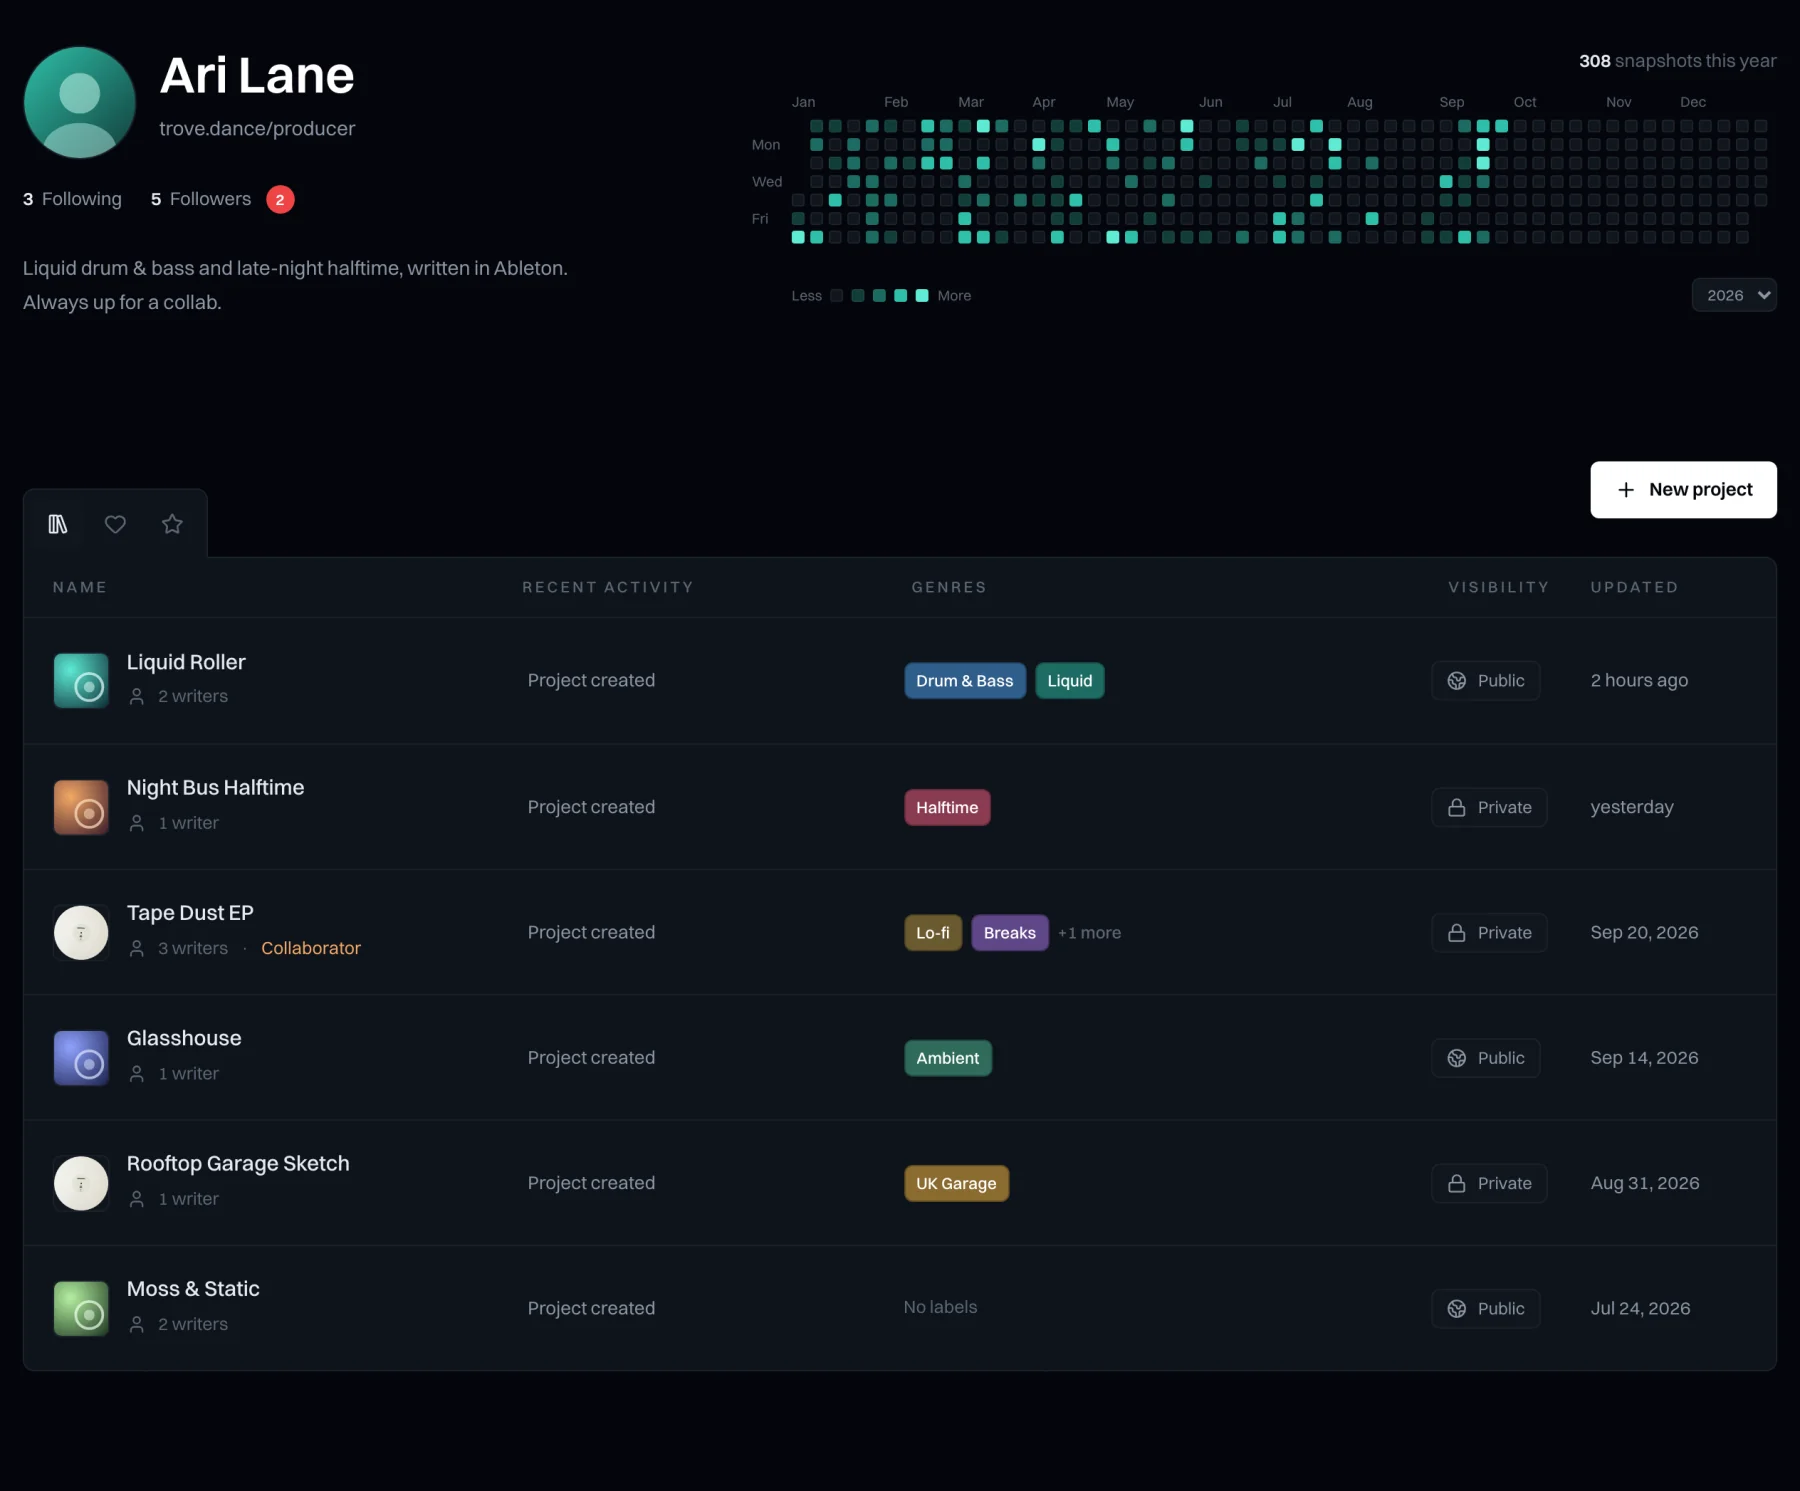
Your dashboard
Your projects, plus the ones you've liked and starred, all on your page.
On the web
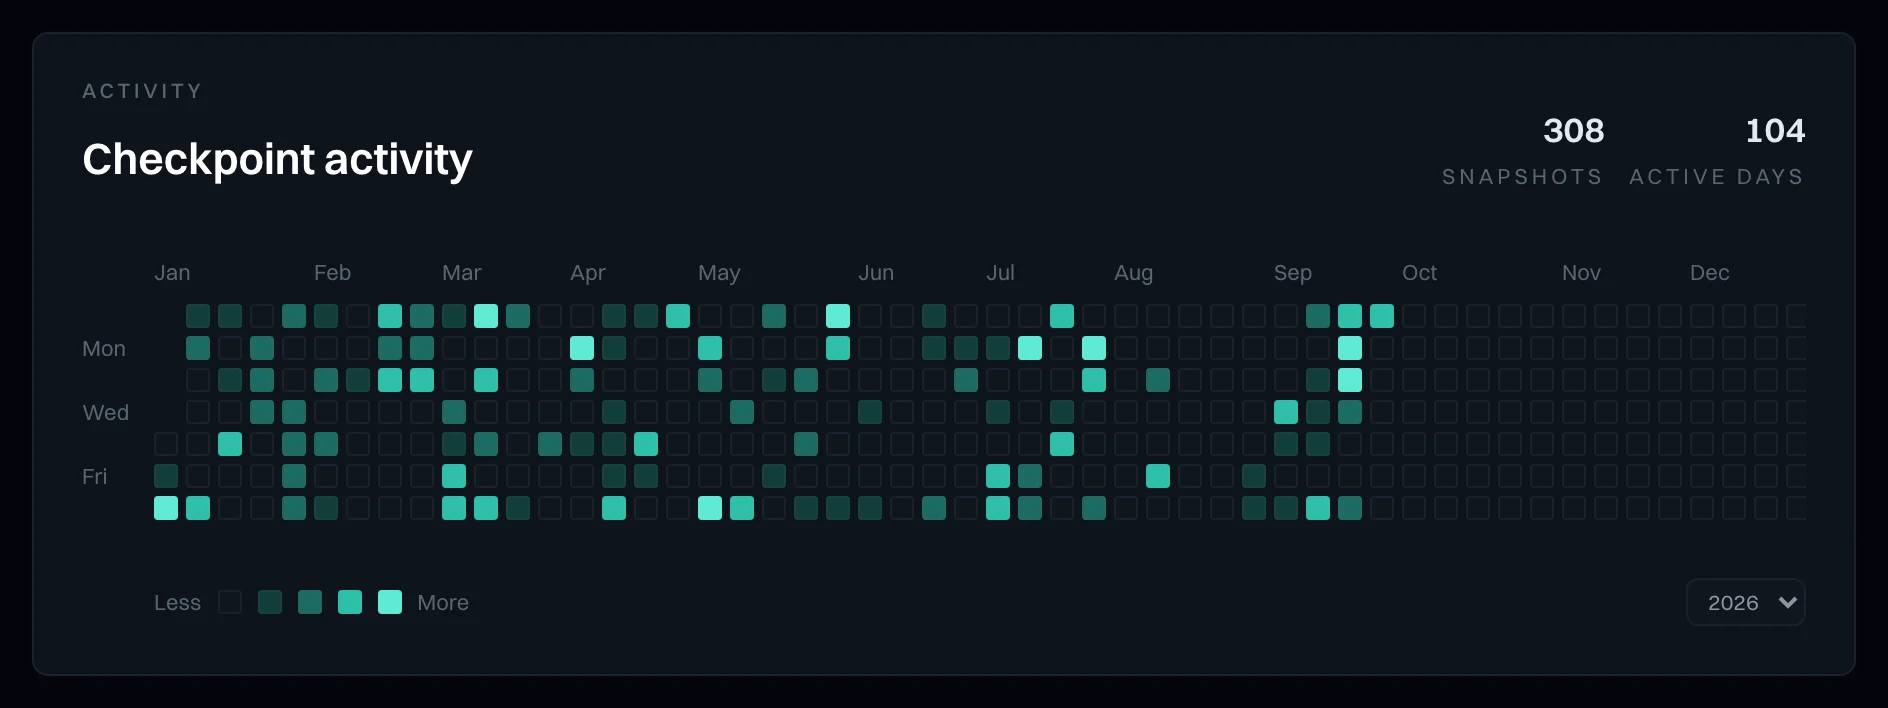
Your activity
A calendar of every snapshot you've synced, one square per day.
On the web
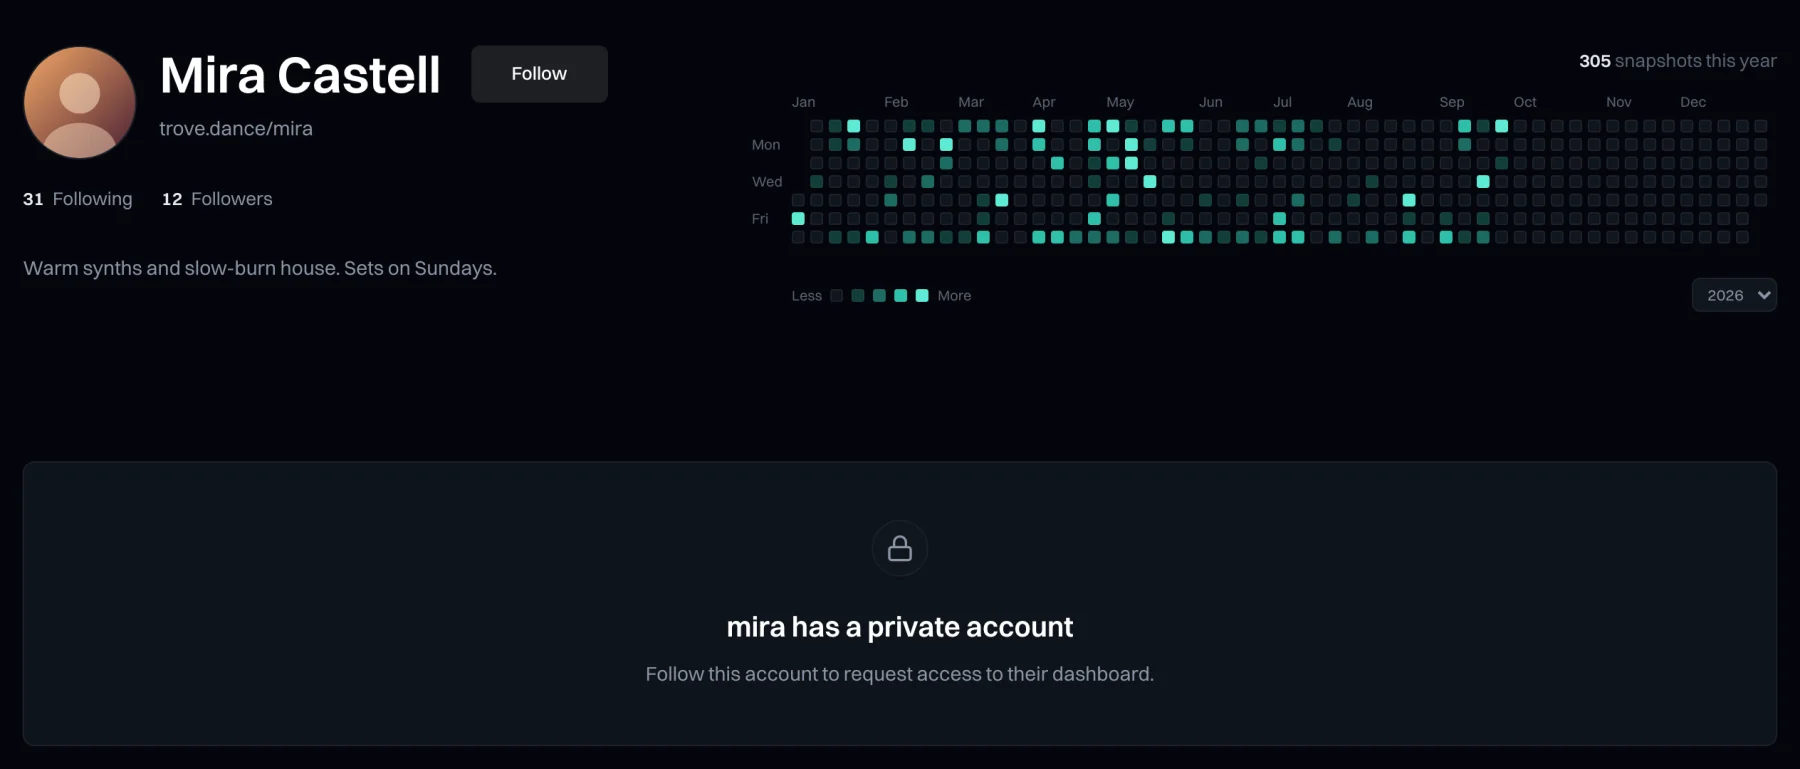
Follow other producers
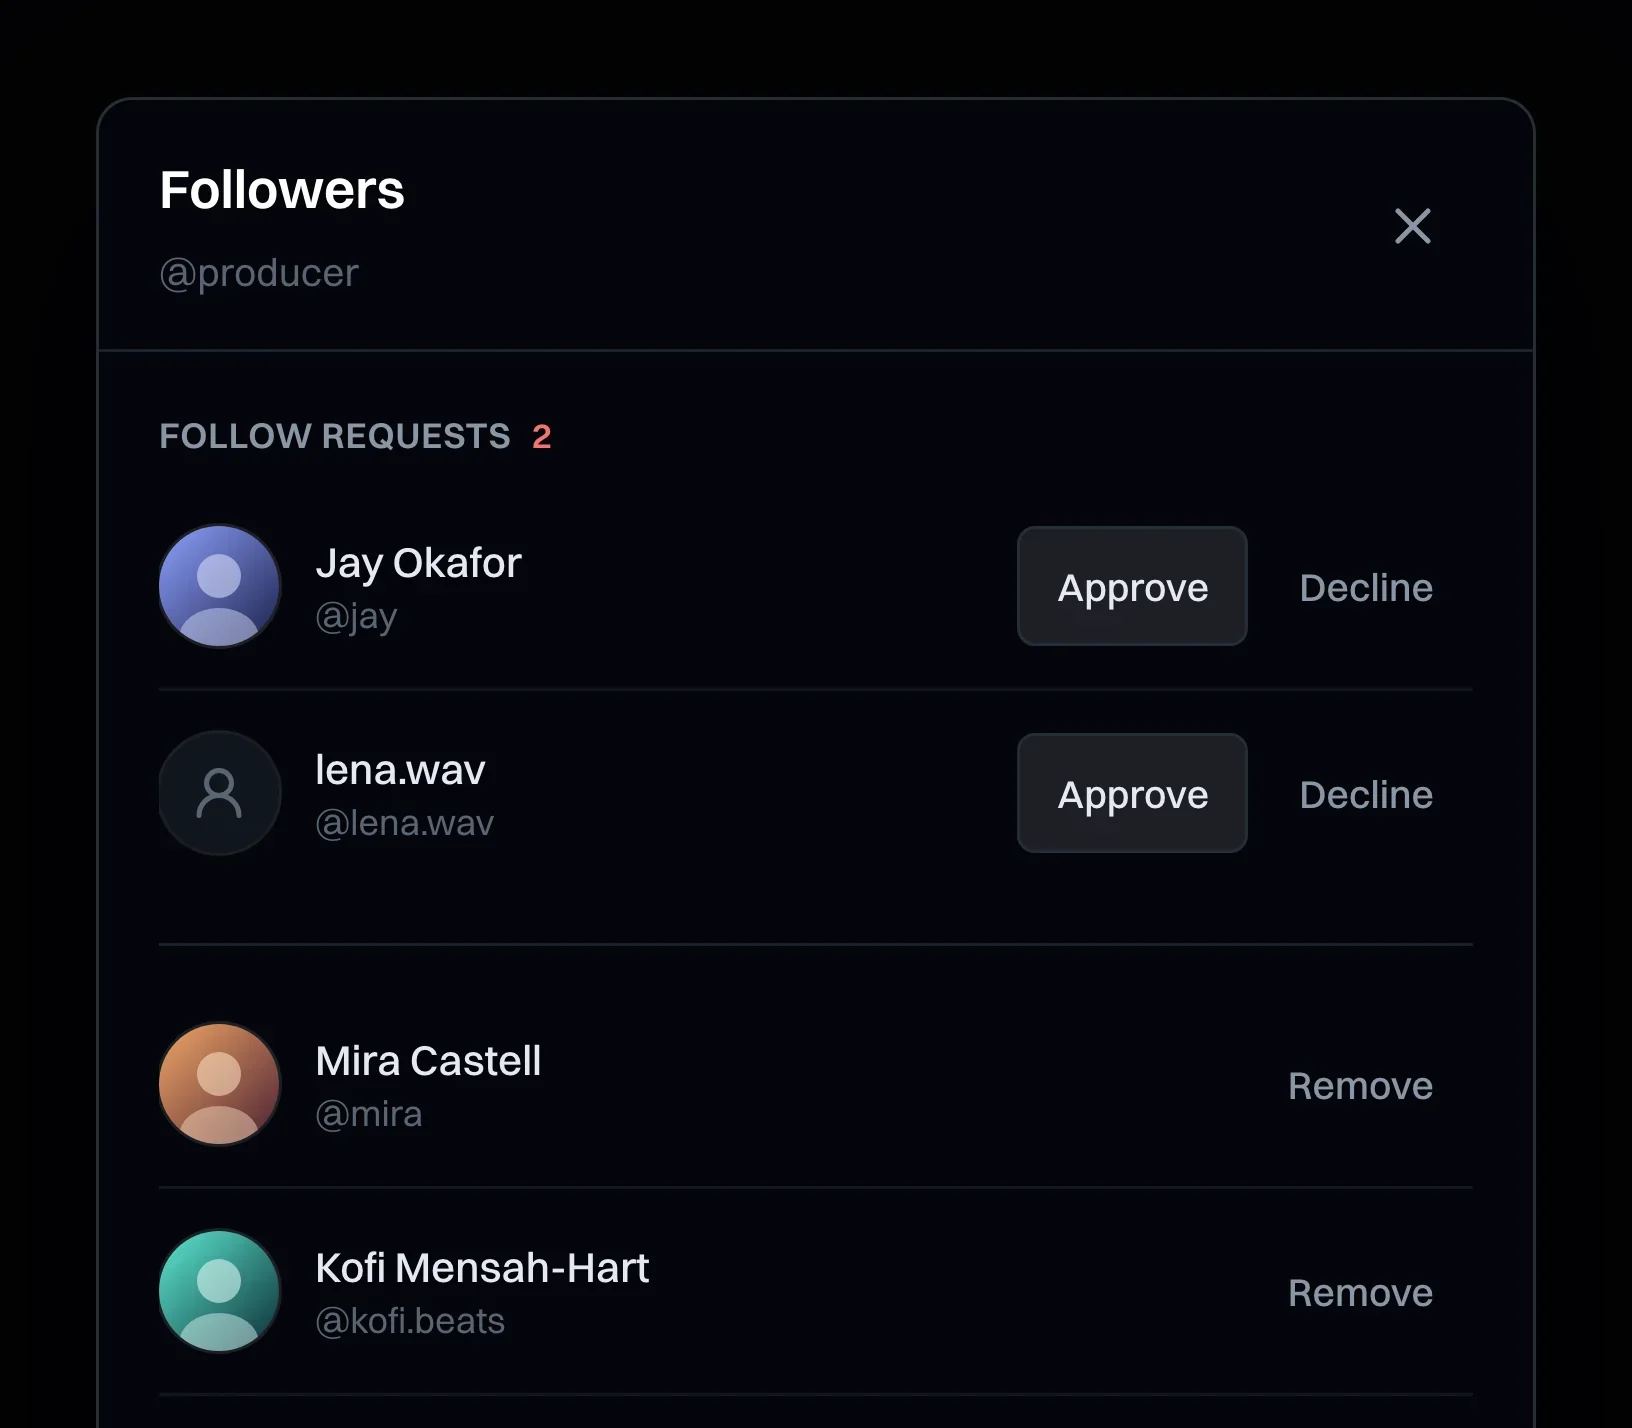
Click Follow on another producer's page. Private accounts approve your request first.
On the web
Approve followers
Follow requests and your followers are listed under Followers on your page.
On the web
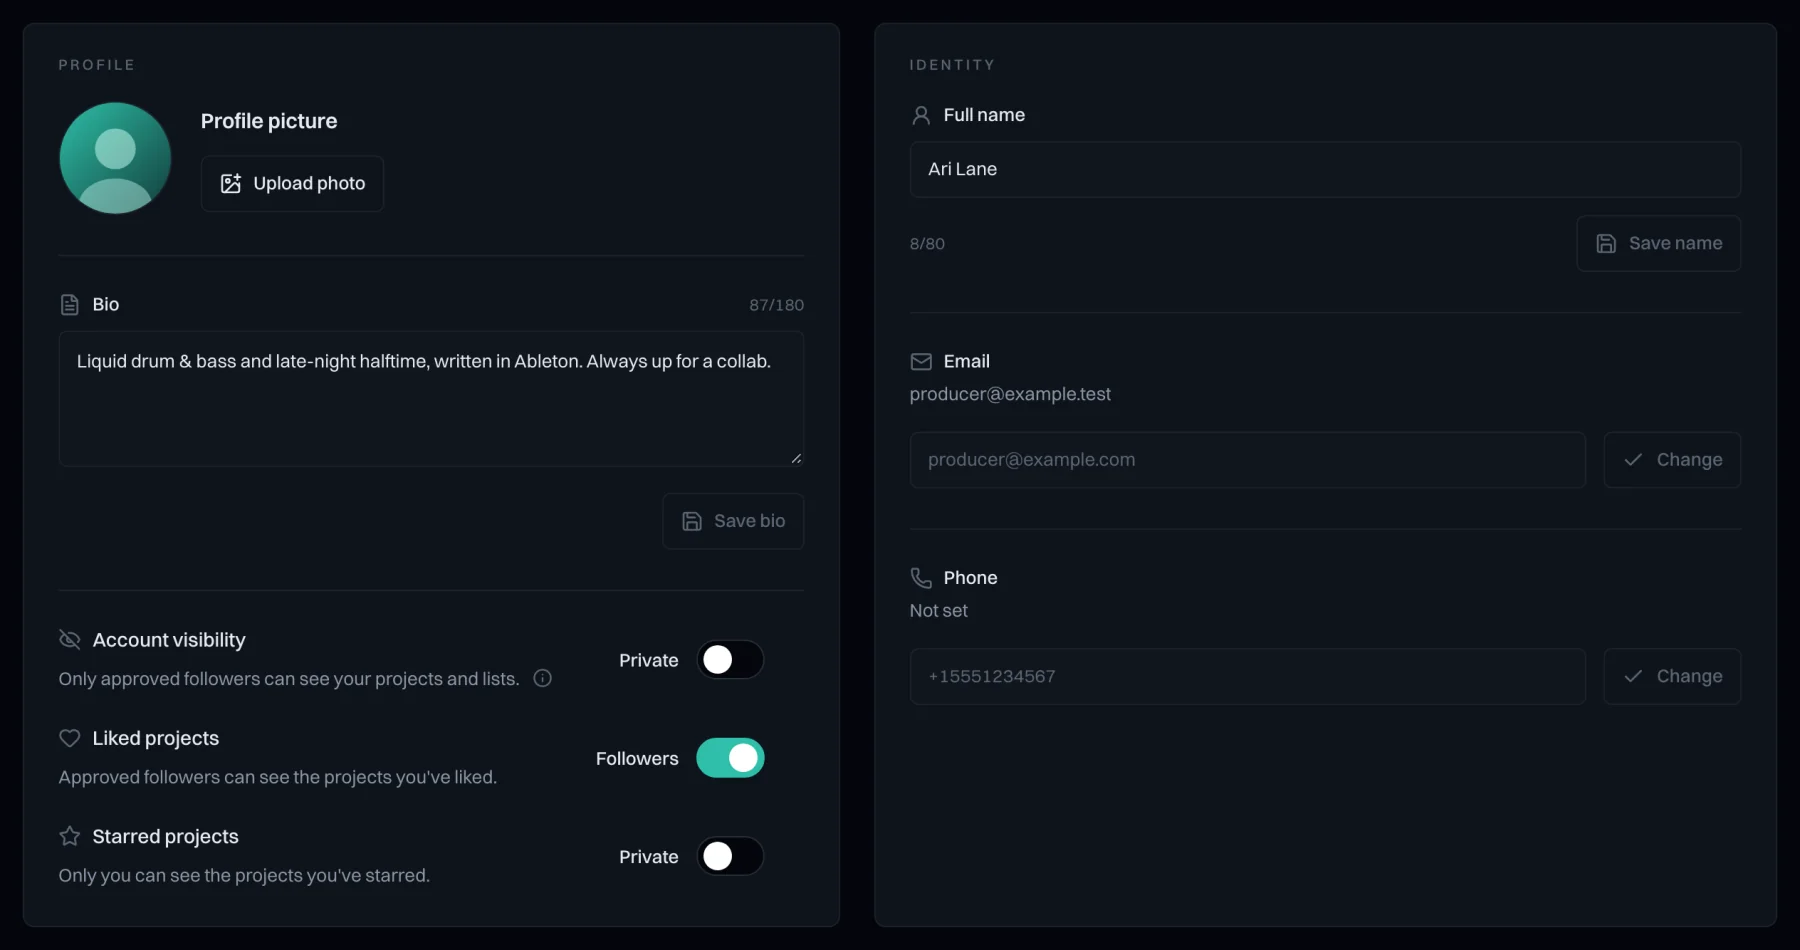
Your account
Set your photo and bio, and make your account public or private. Private hides your projects and lists from anyone you haven't approved.
On the web
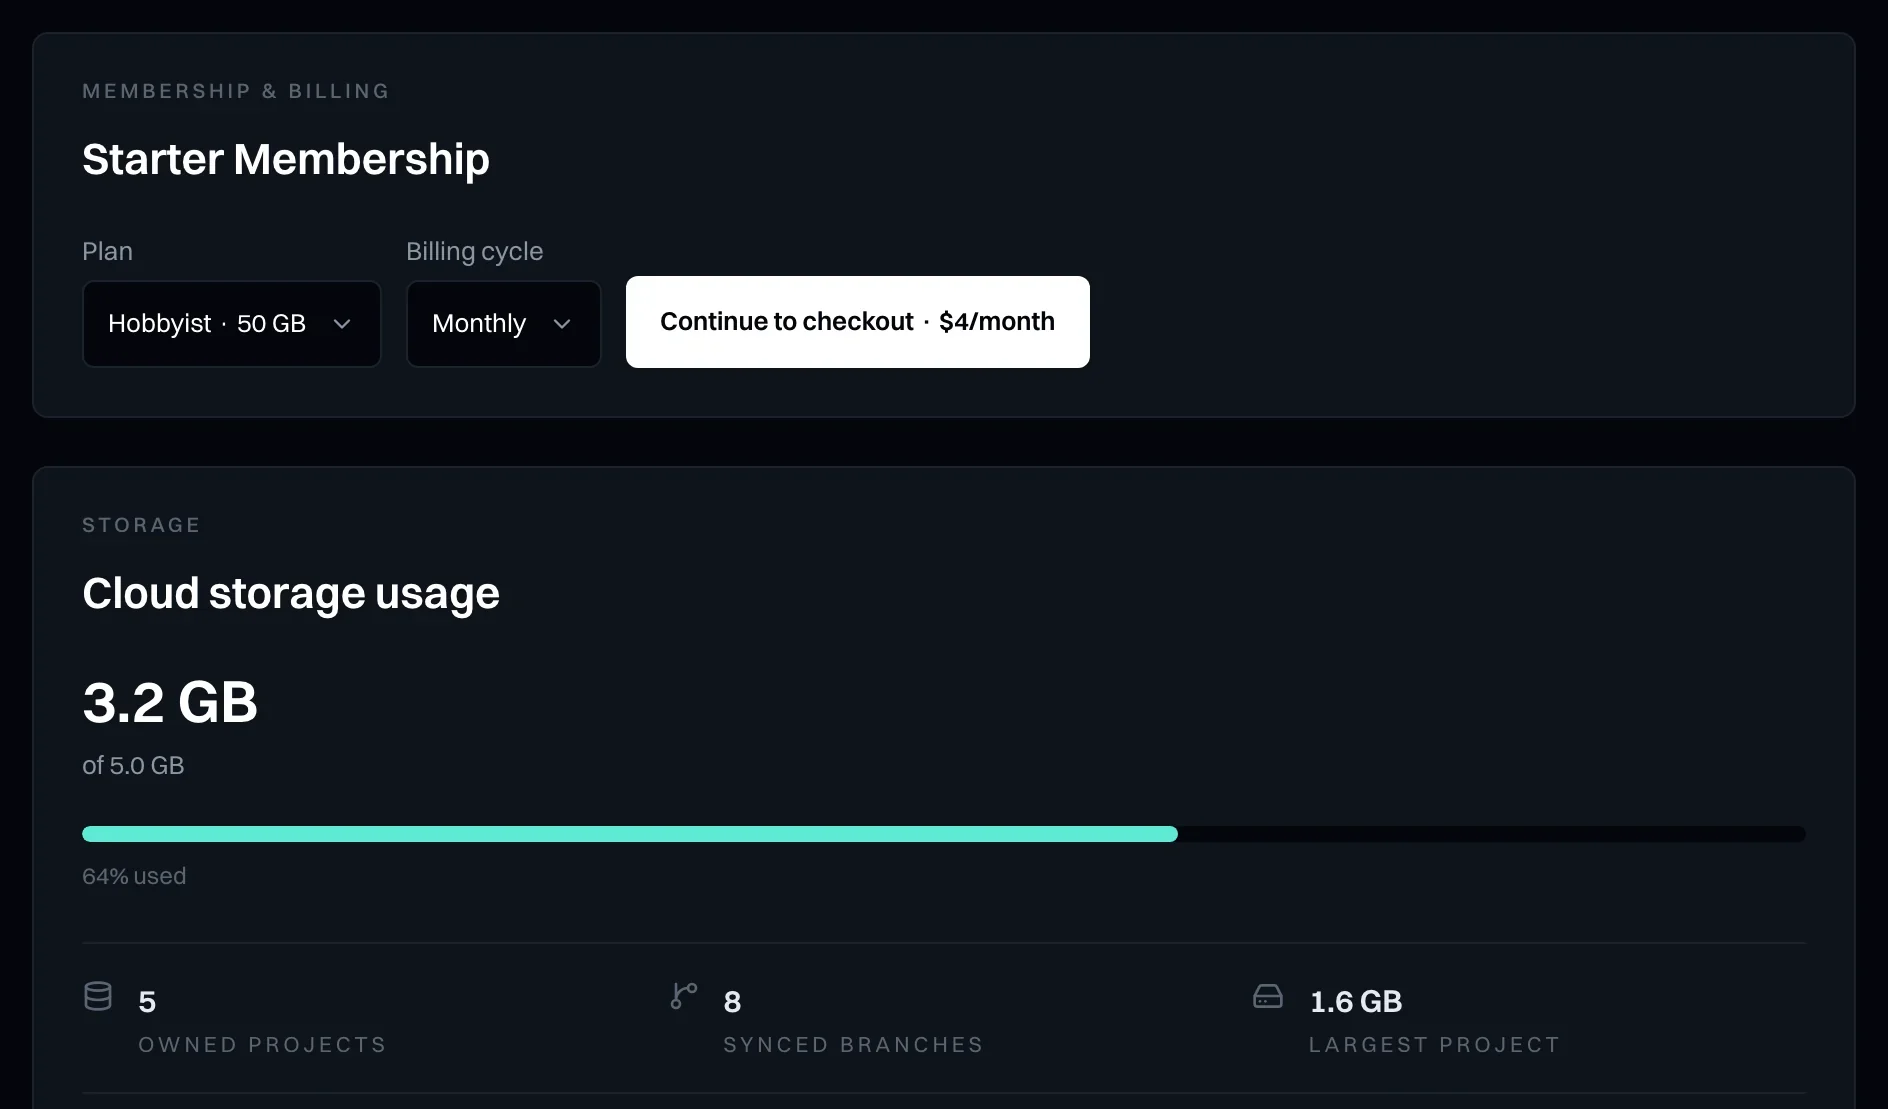
Membership and storage
Pick a plan and see how much cloud storage your projects use.
On the web
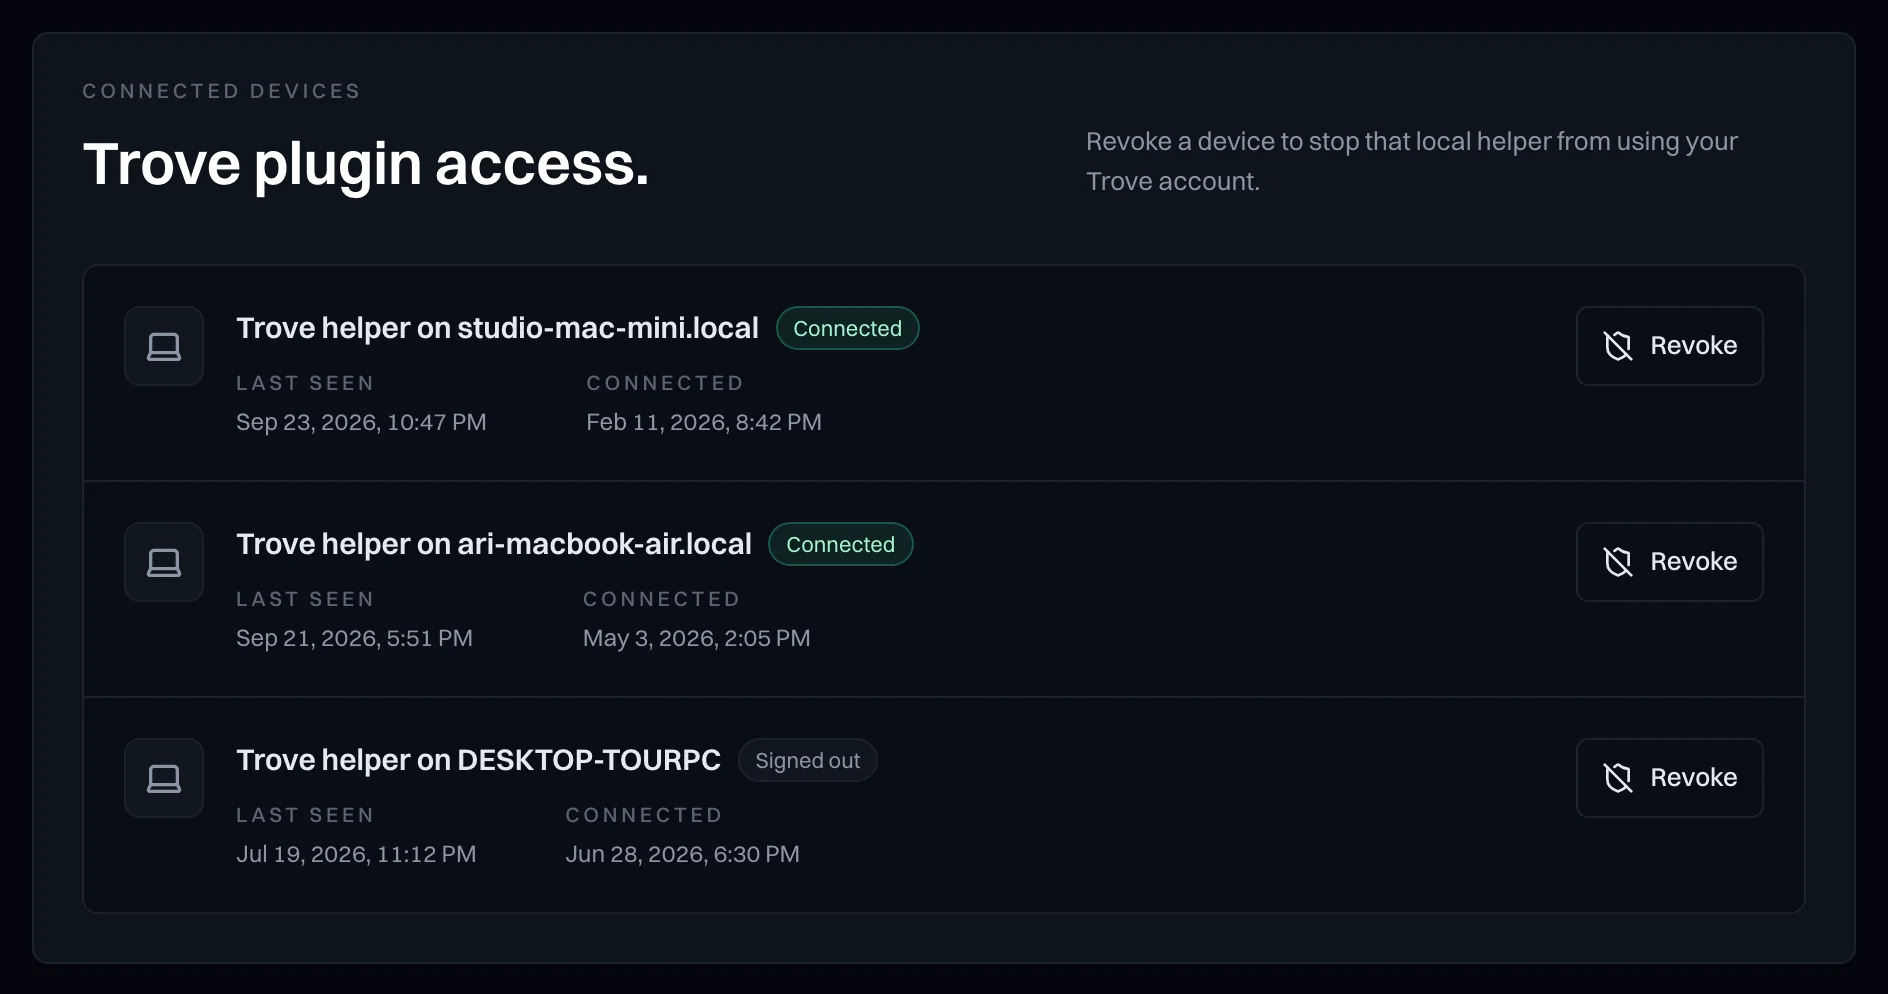
Connected devices
See every computer Trove is signed in on. Revoke one you don't recognize to sign it out.